Steps to Sew a Faux Button Placket

Step 1. Measuring Your Bodice
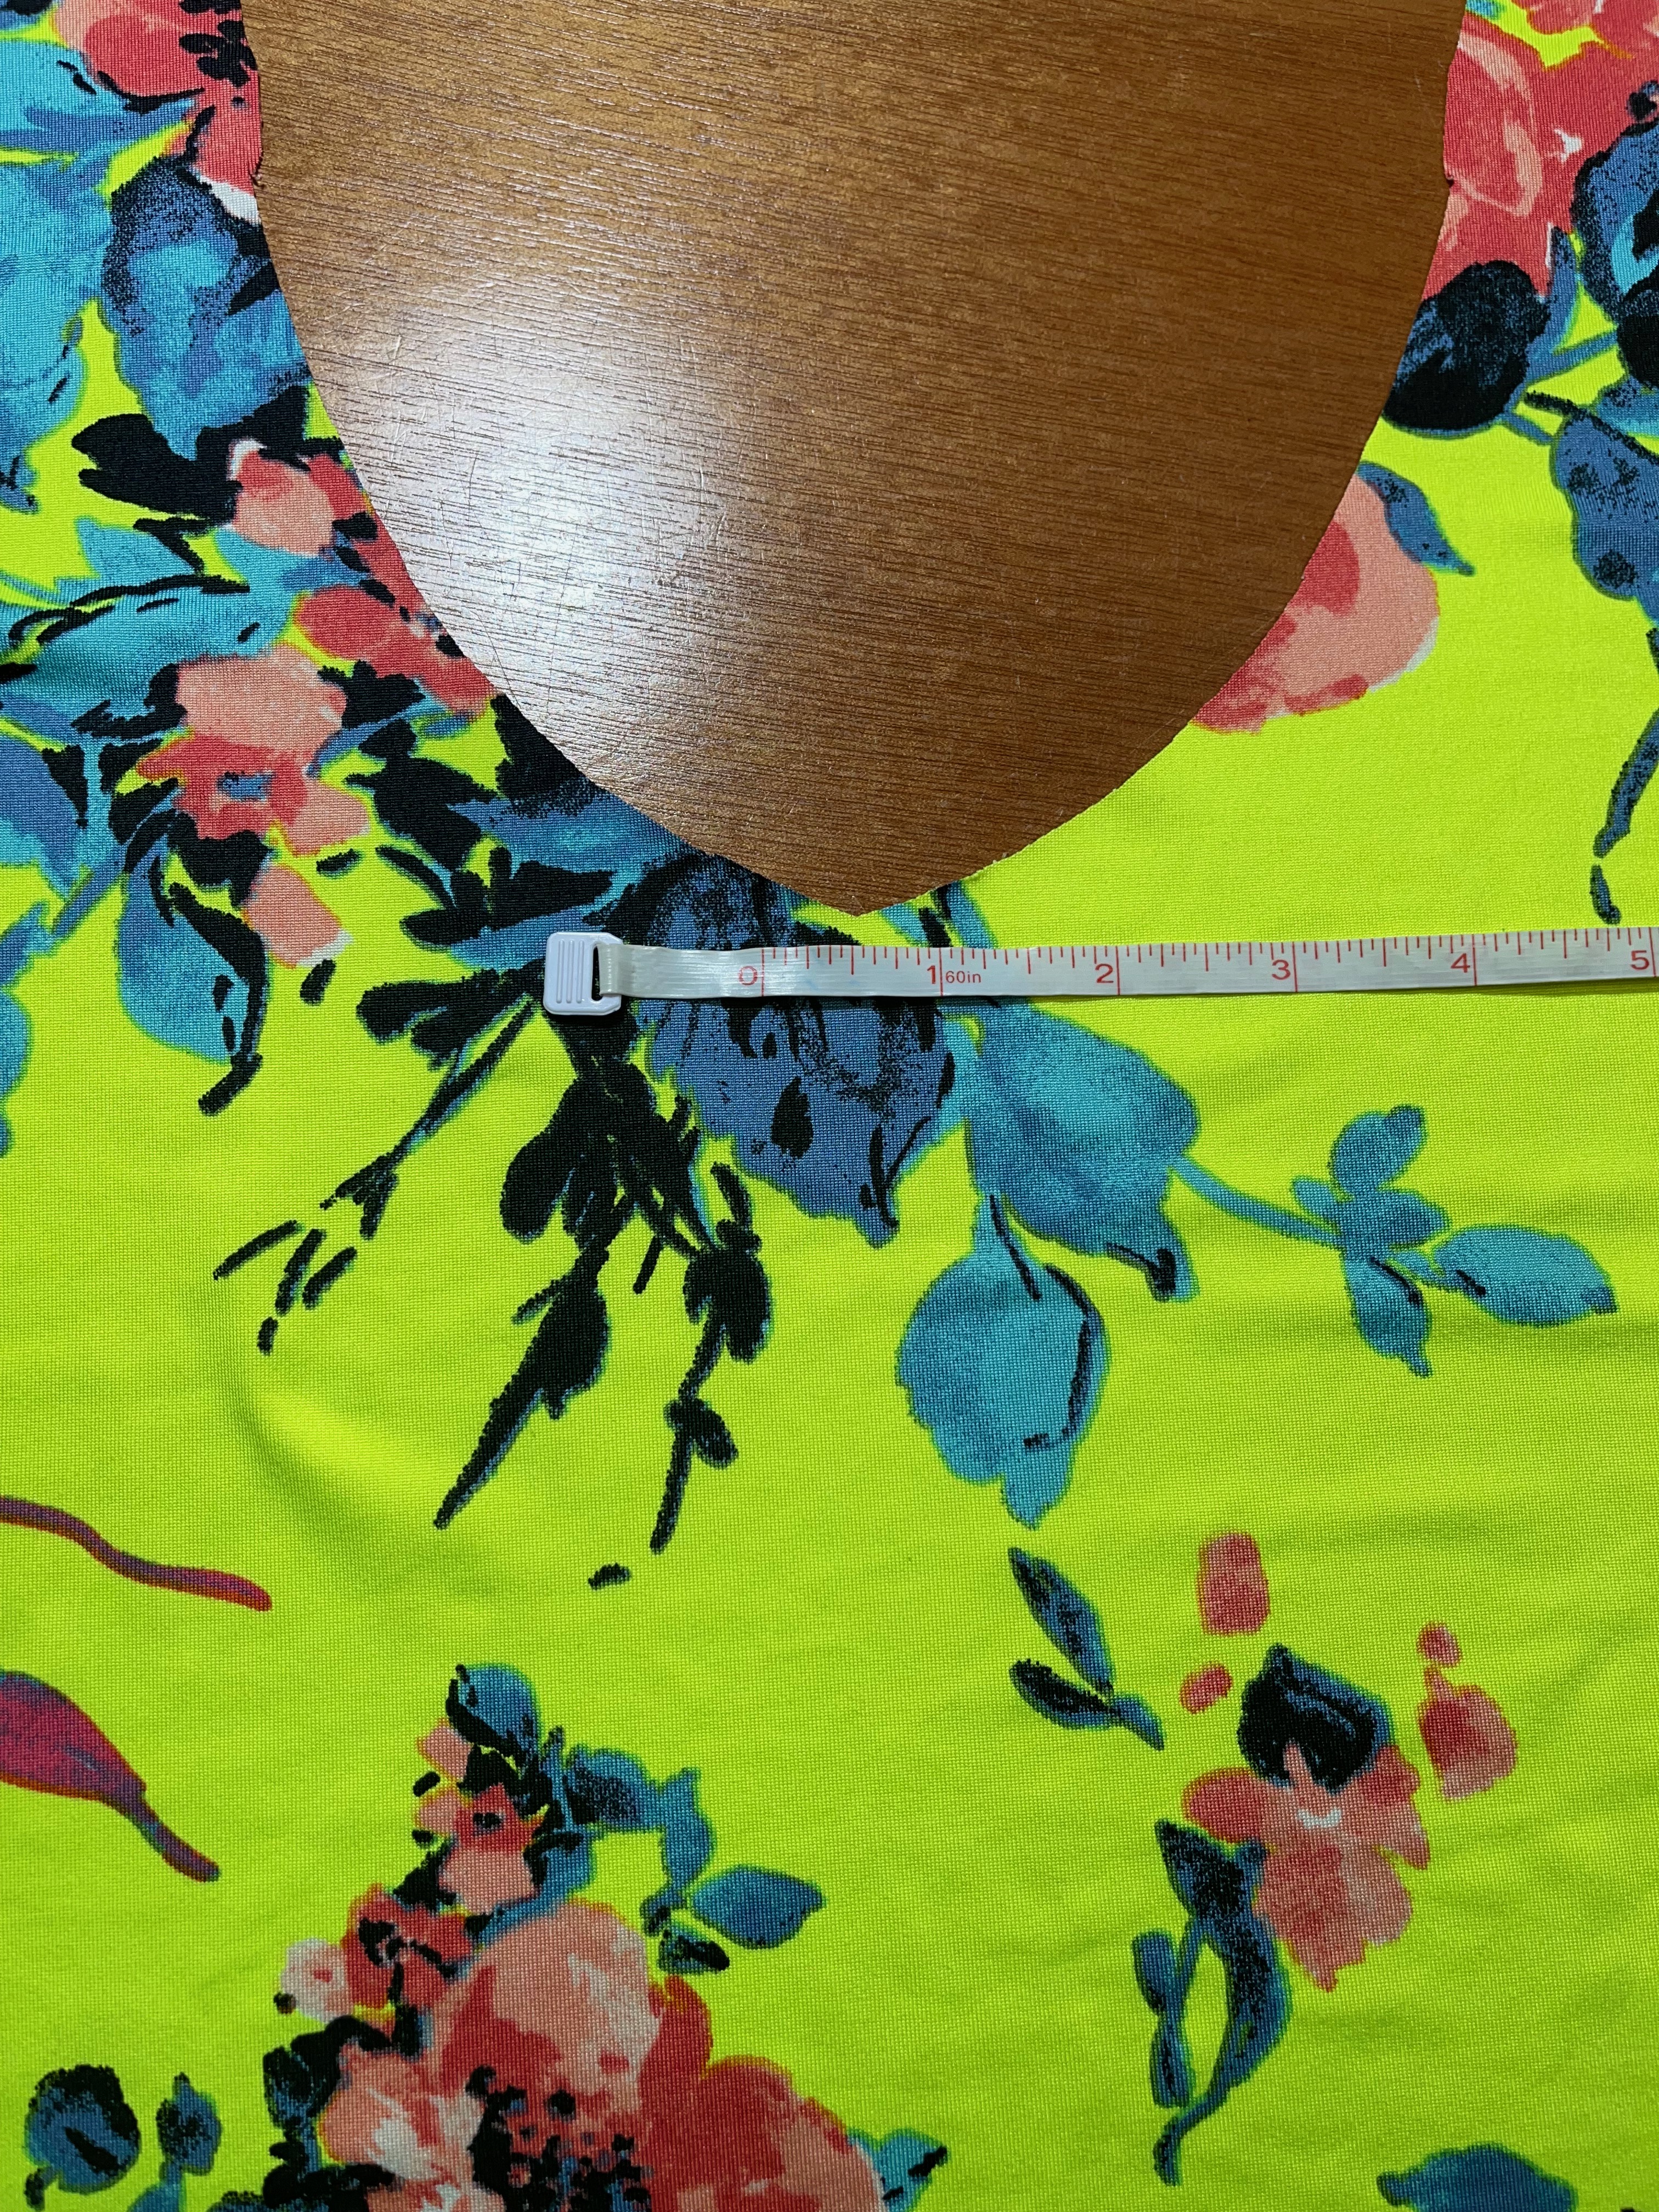
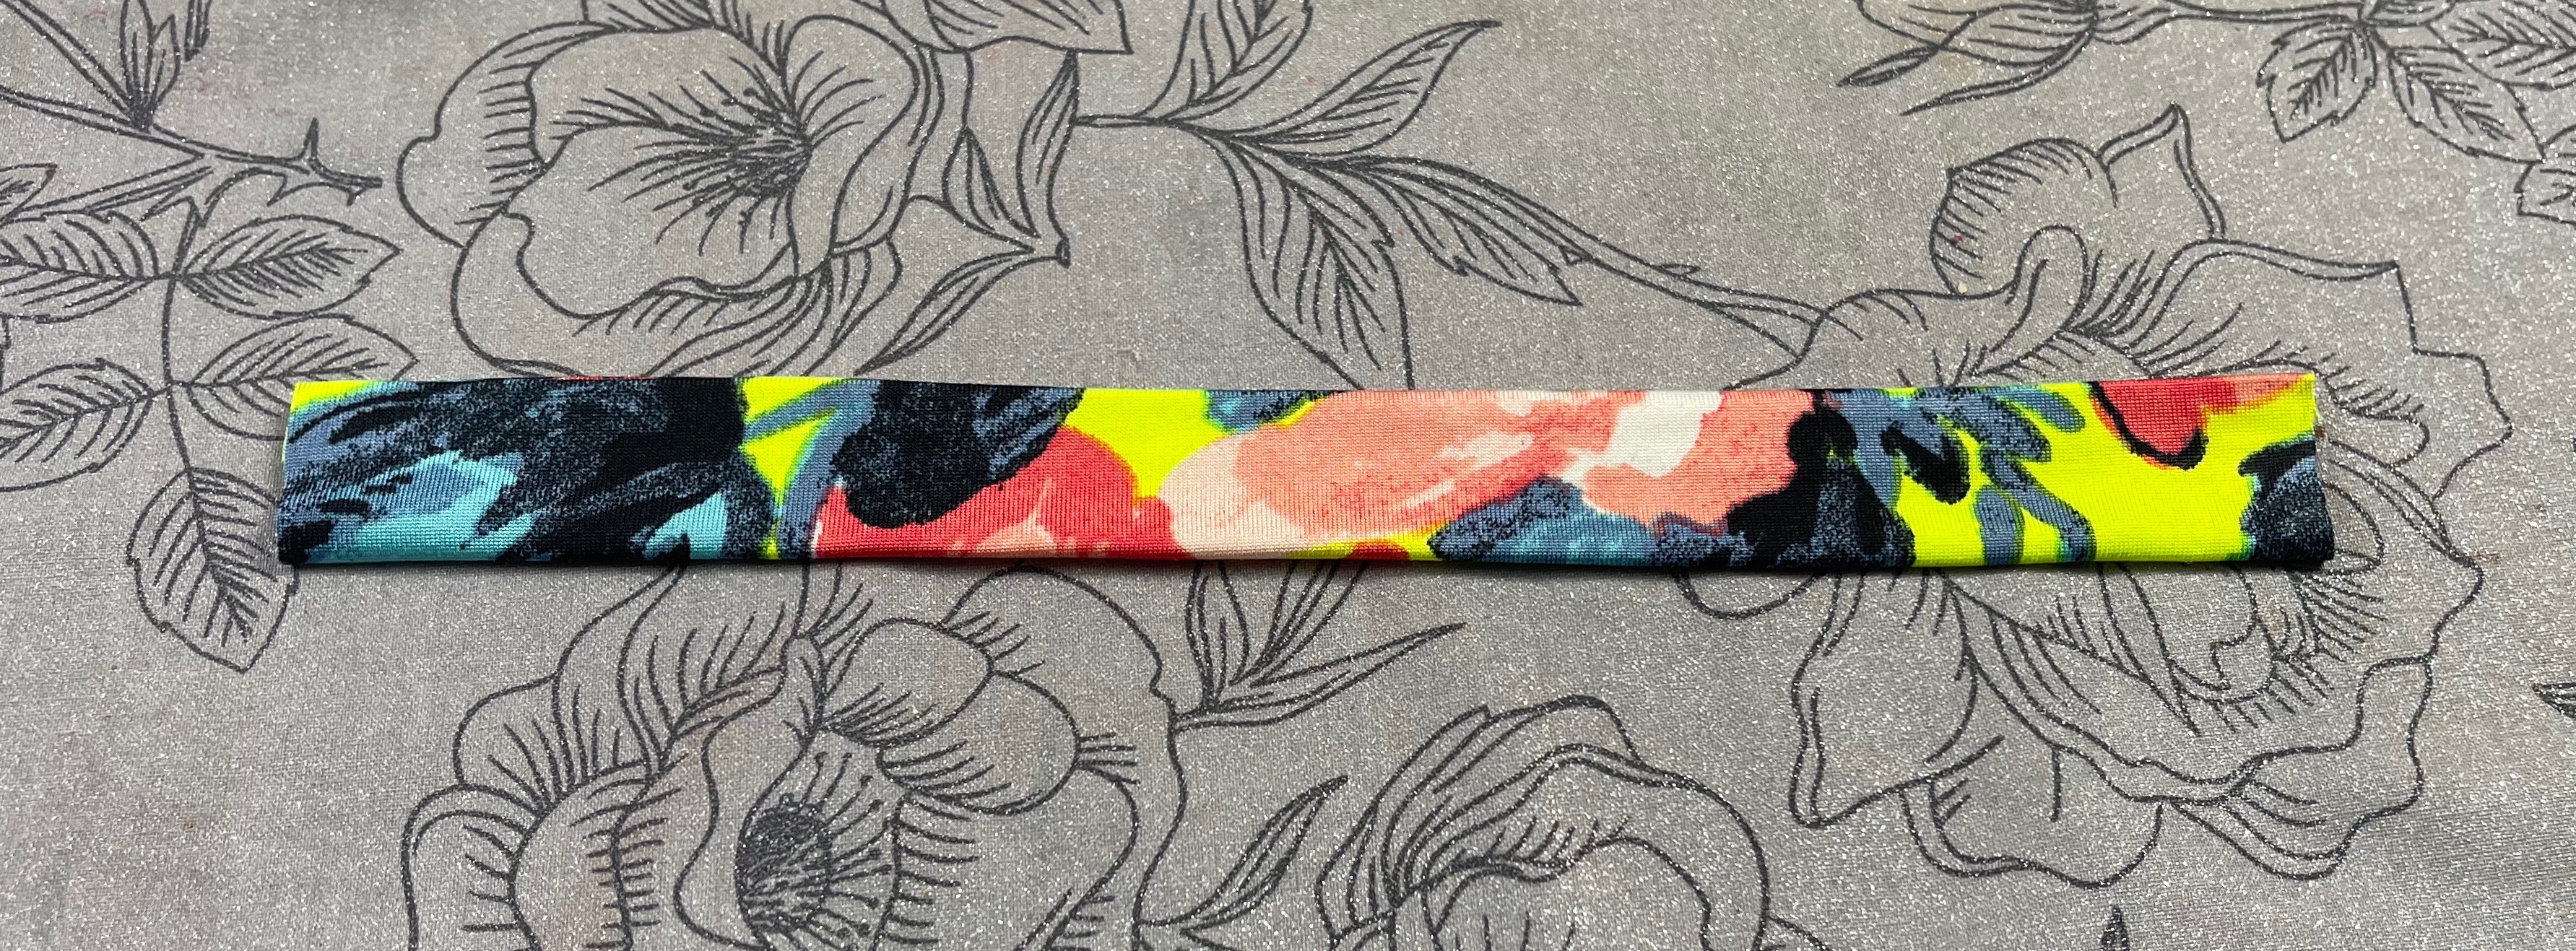
To start you will need your front bodice piece cut out and laid flat. You will measure the center front from the neckline to the bottom of the bodice. Mine measures almost 9 inches. Next, you’ll need to decide how wide you’d like your finished placket and then do a little math to figure out how wide you’ll need to cut your faux placket piece. I’m going to make mine 1 inch wide finished. You’ll need to double that and also include an allowance to fold over the raw edges. I’m going to press mine in .25 inches on each side, so I’ll add .5 inches plus 2 inches and cut my placket piece at 9 inches tall and 2.5 inches wide.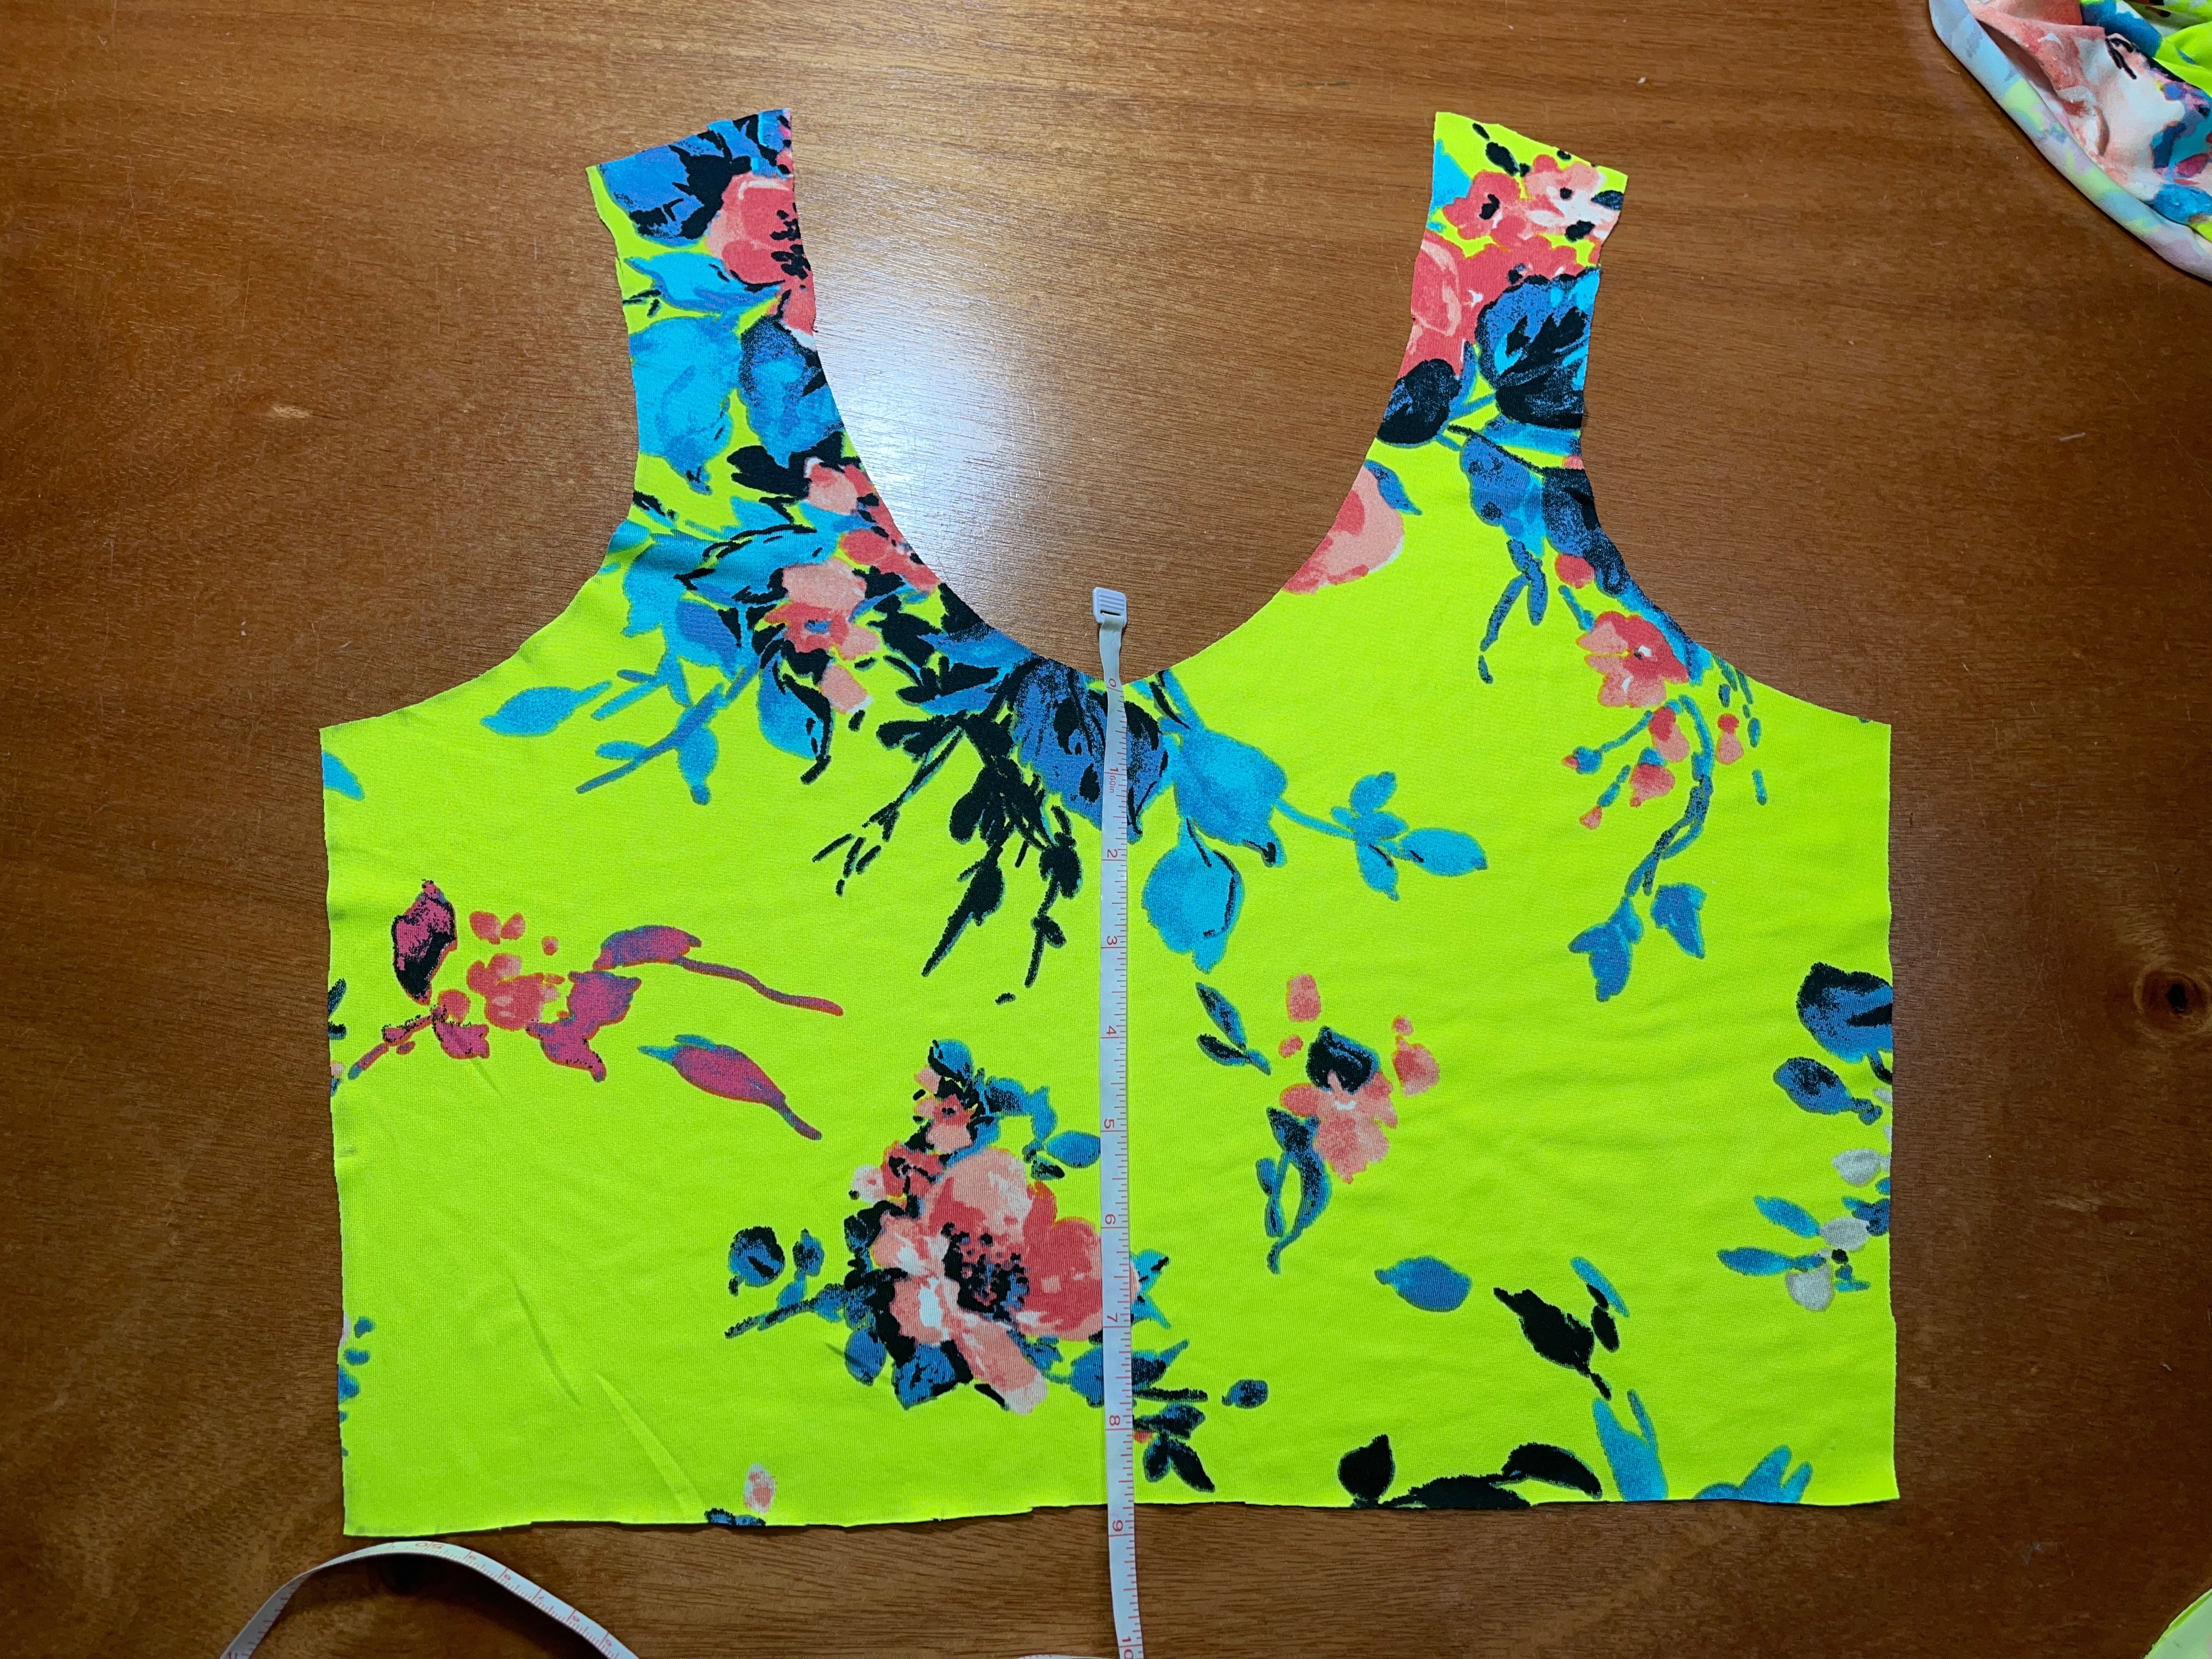
Step 2. Preparing Your Placket Piece
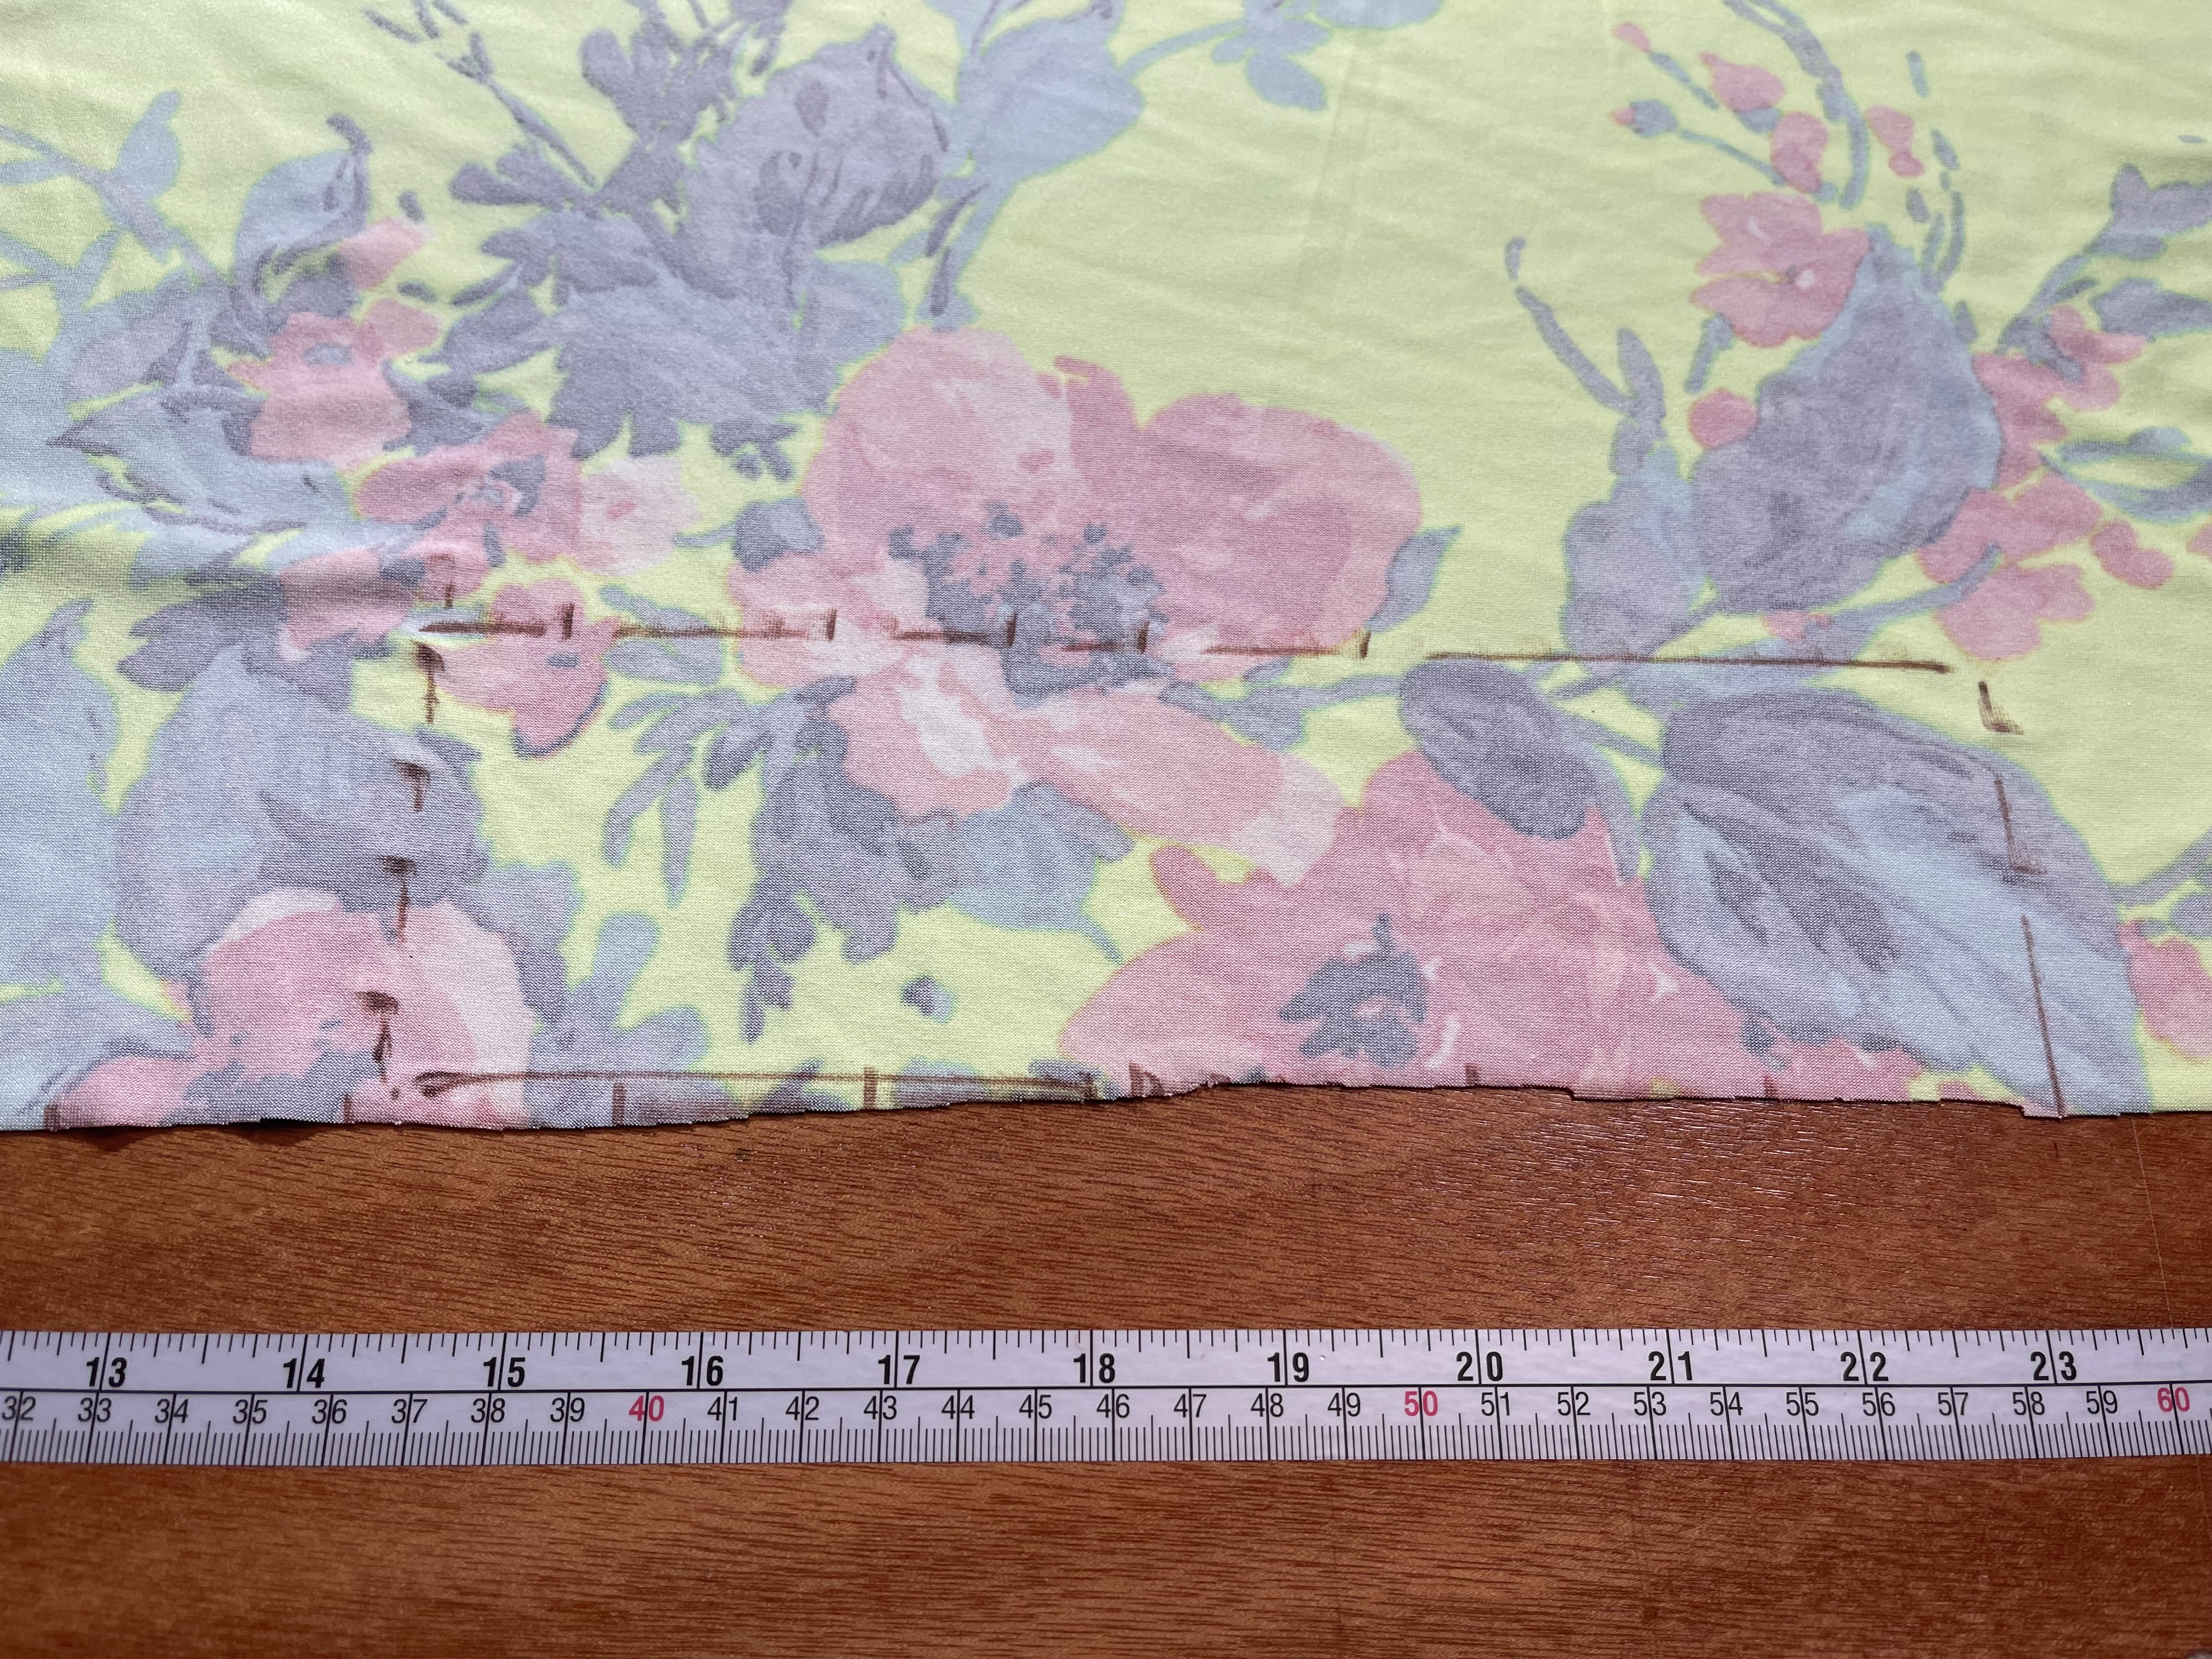
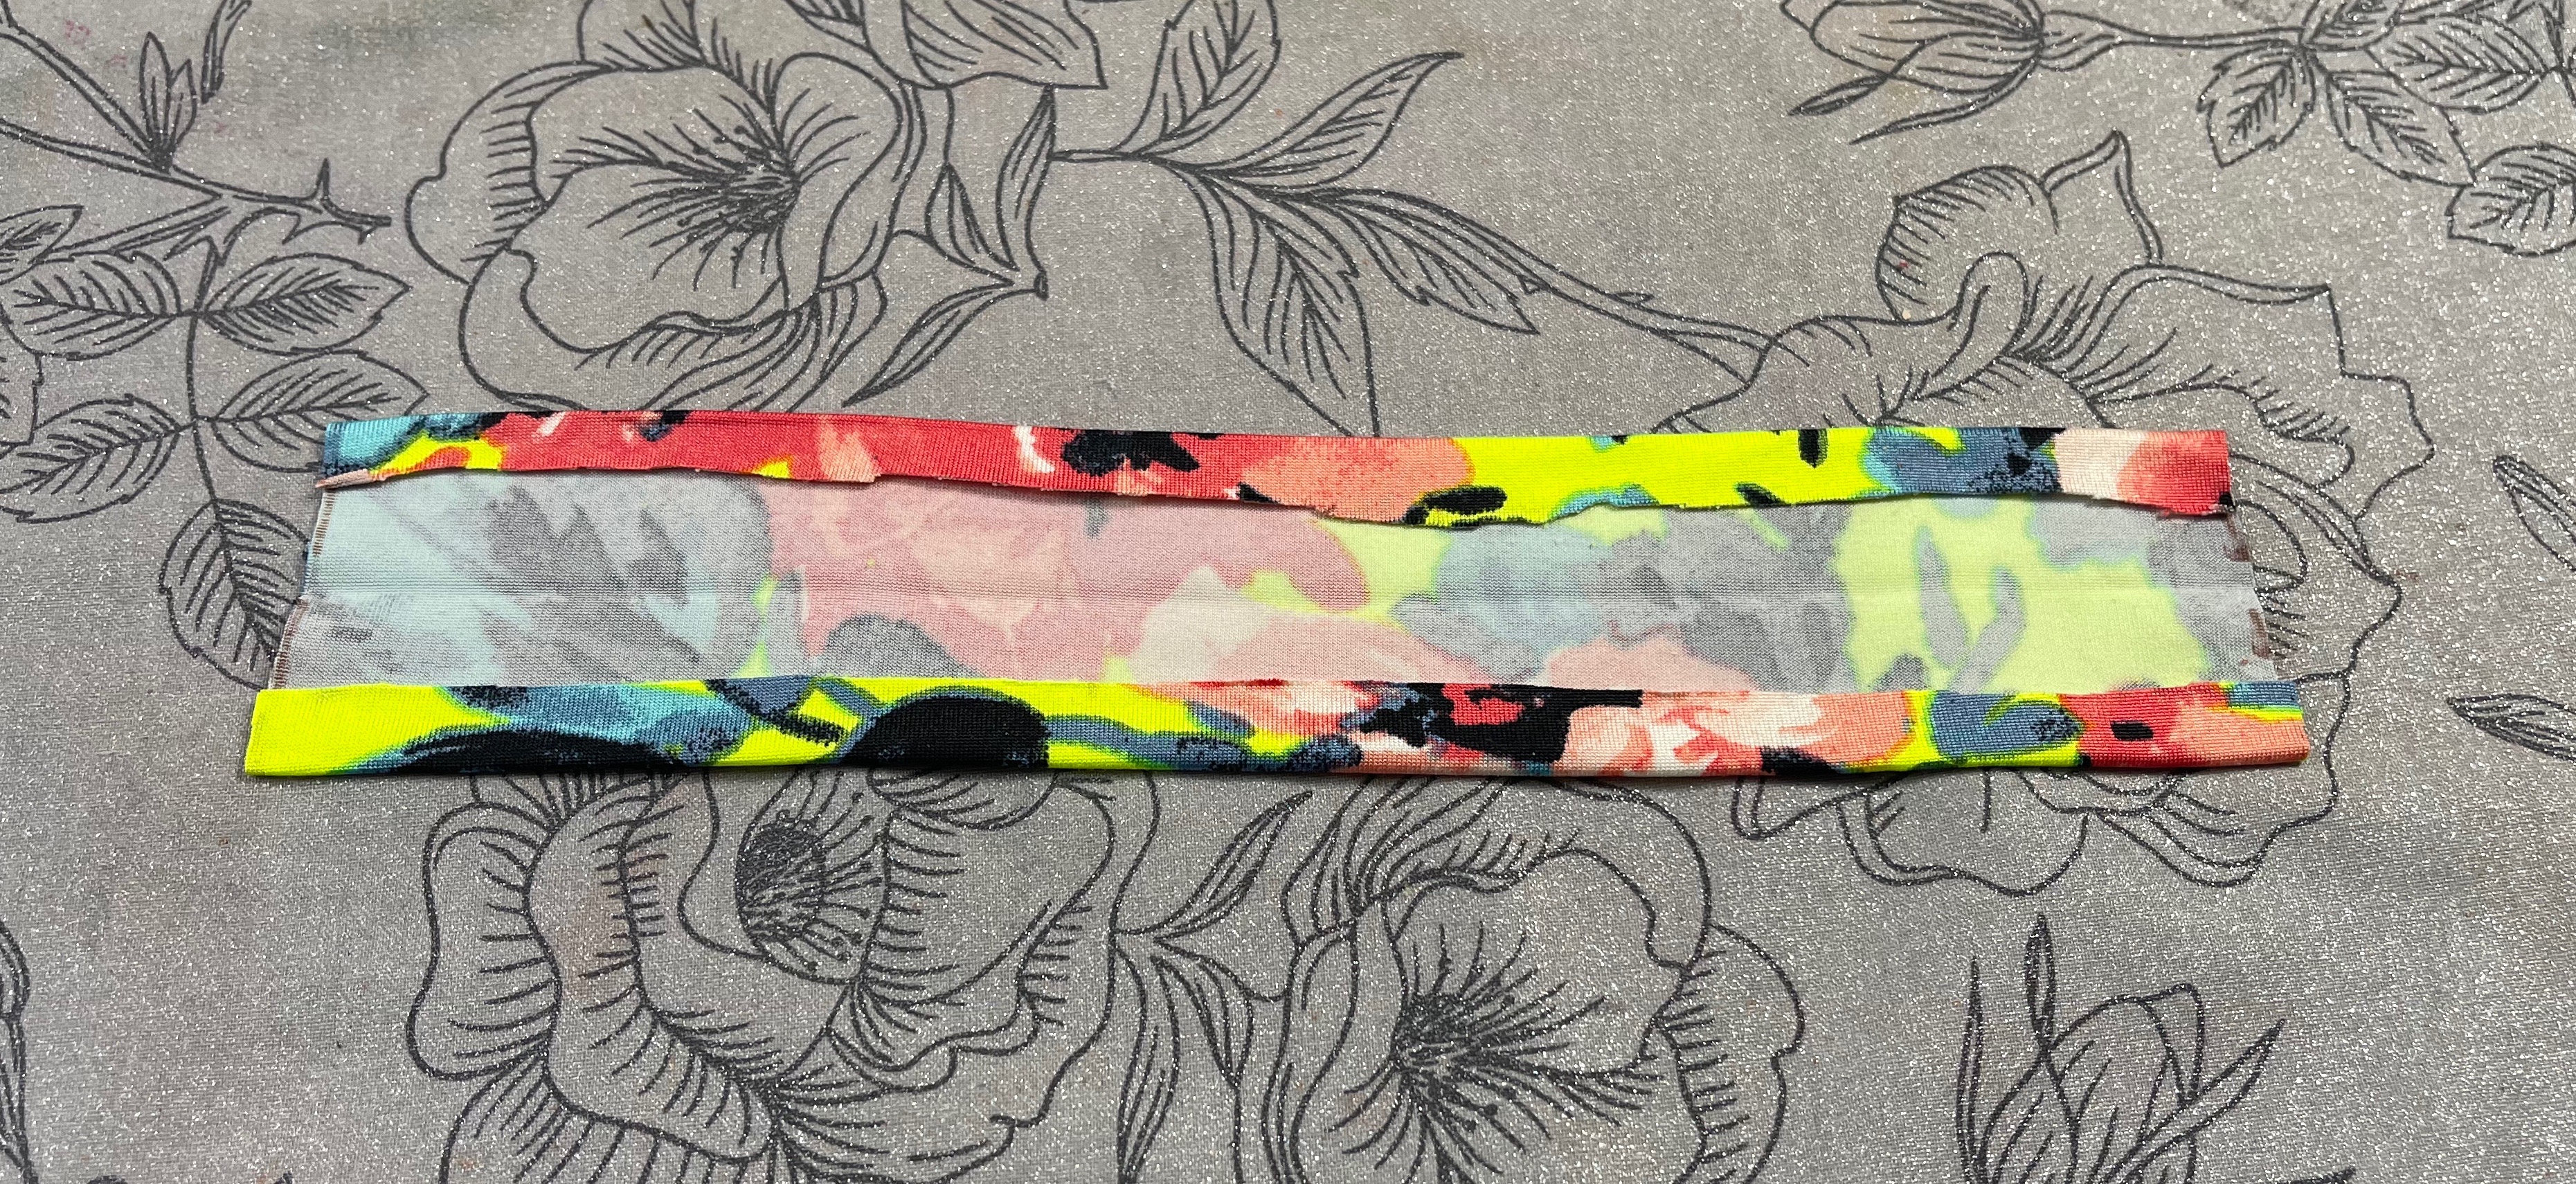
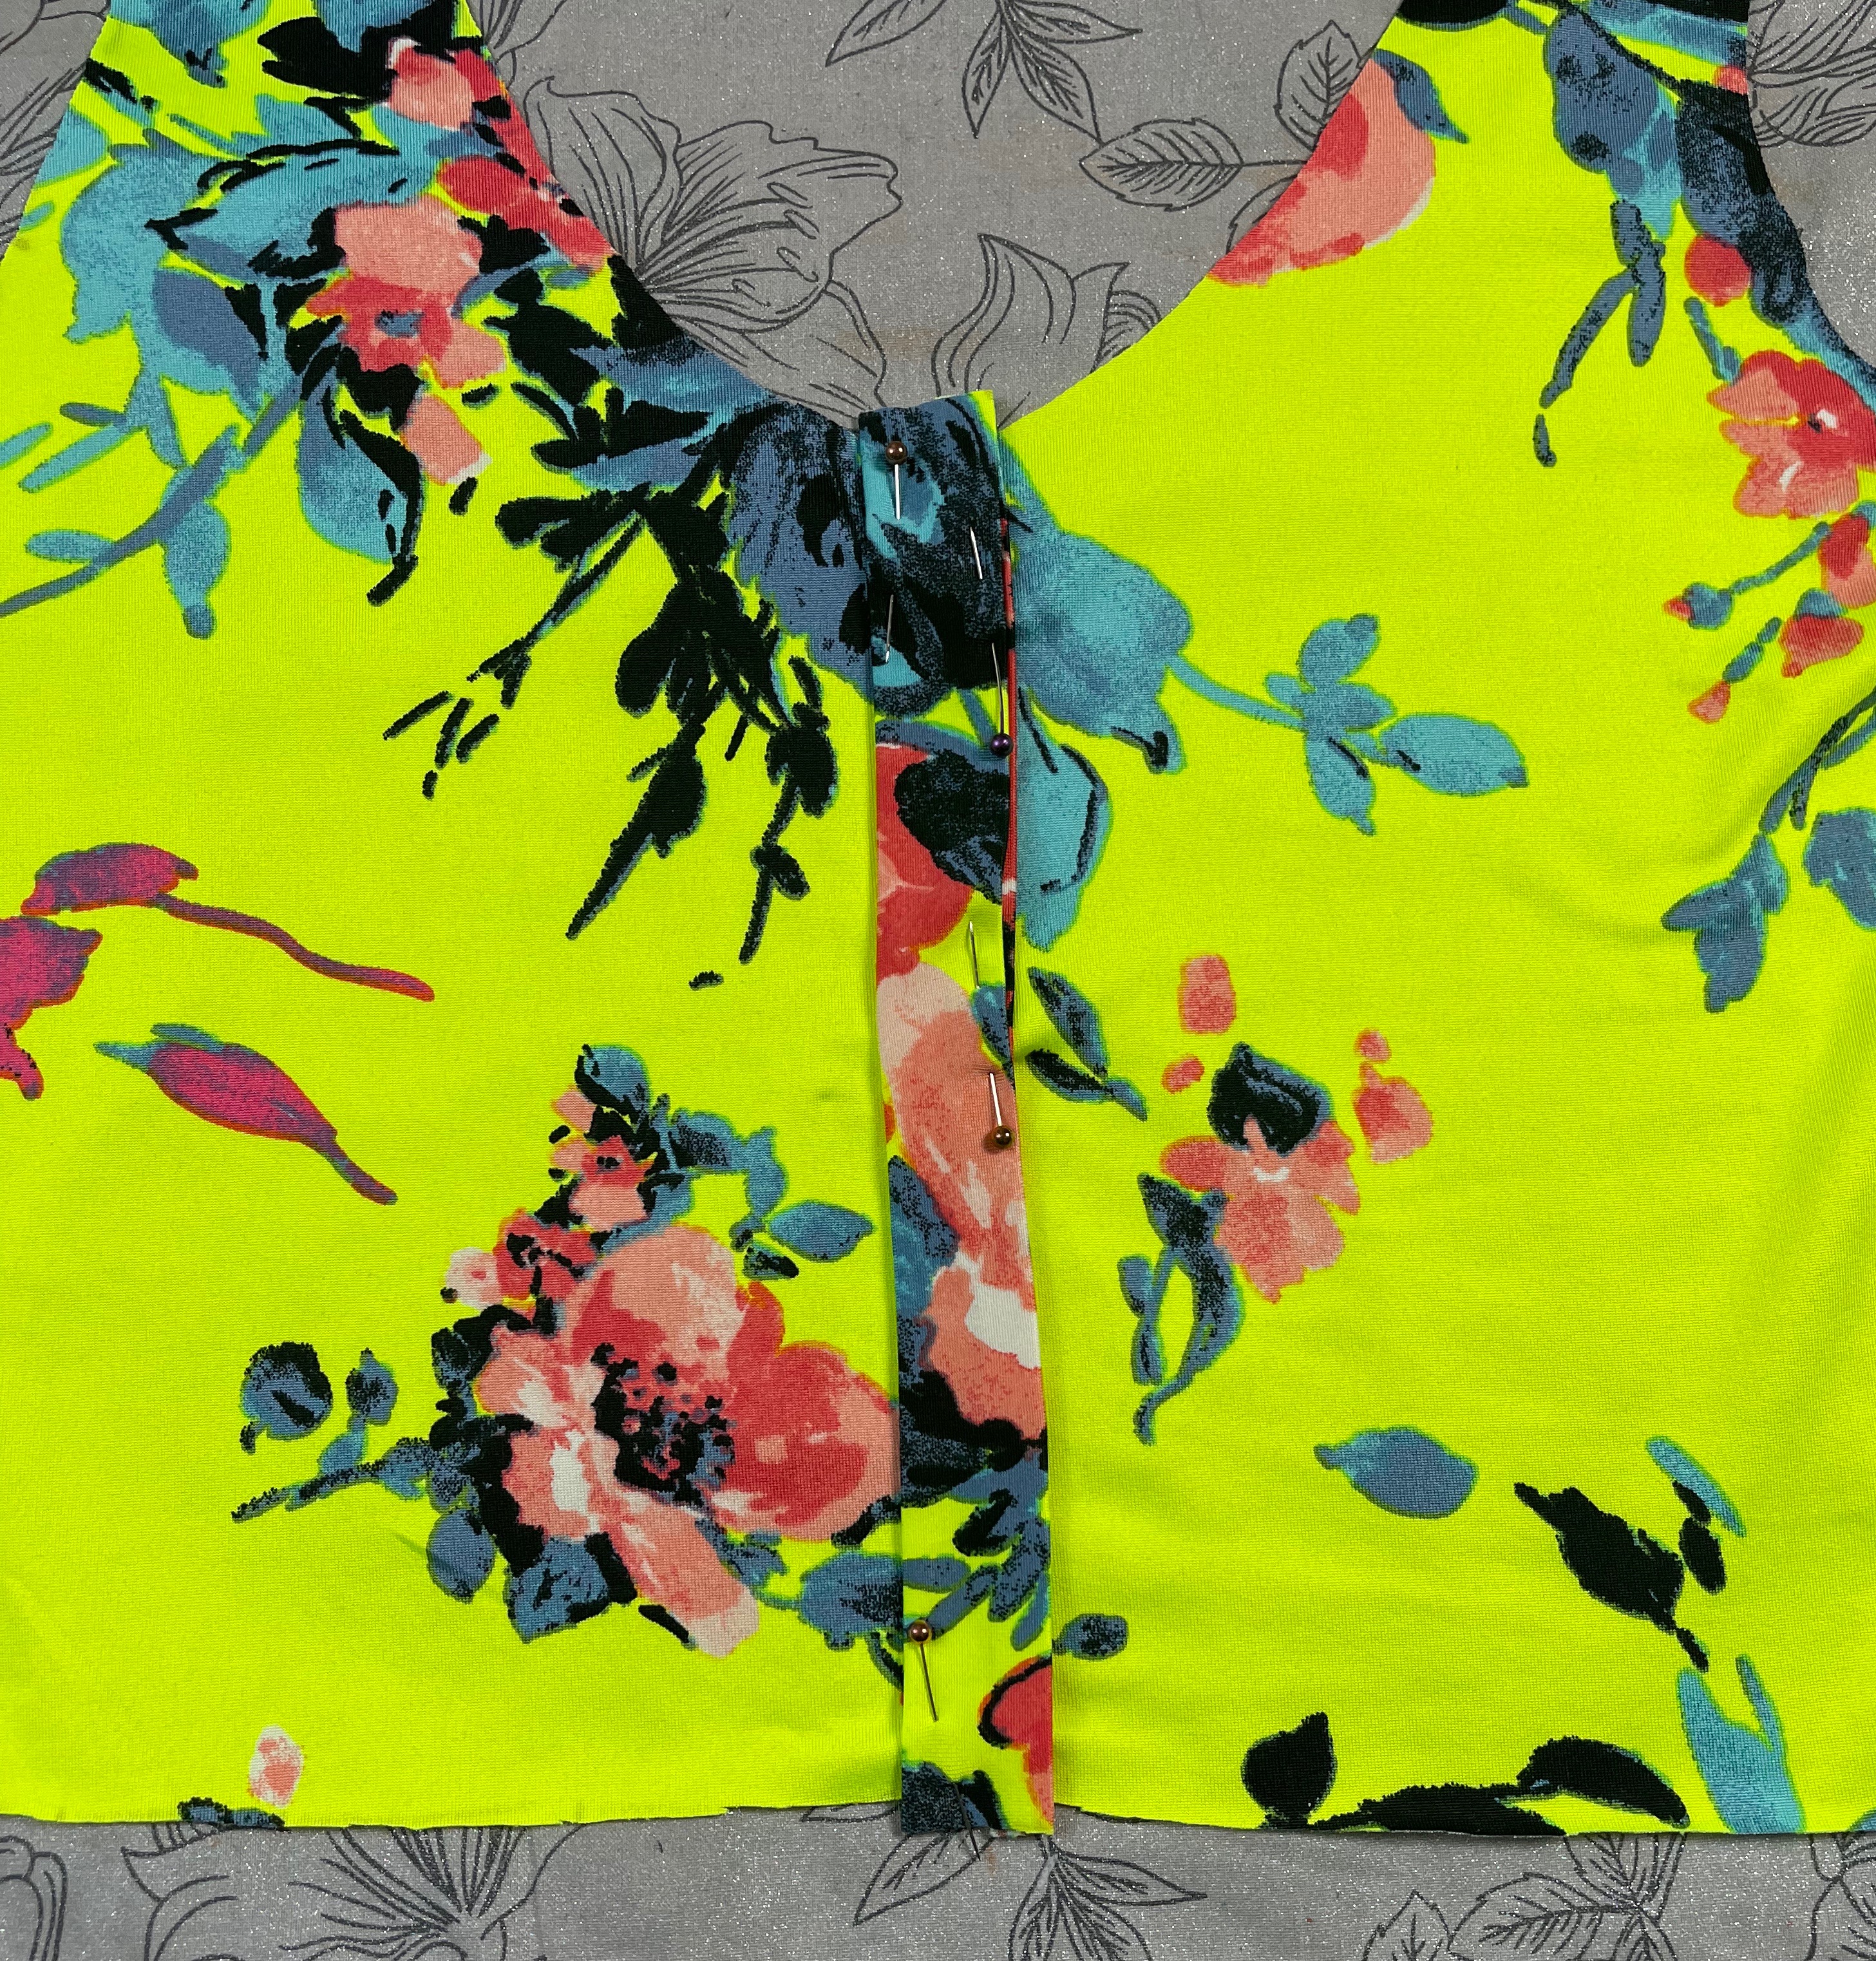
Once you’ve cut your faux placket piece you will fold over and press your long raw edges whatever amount you allowed for, in my case .25 inches on each side. Then fold the placket piece in half matching the folded under edges and press.
Step 3. Sewing on the Placket Piece
Now take your placket piece and place it on the center front of your bodice piece. You can secure it in place with pins or wondertape. Sew down both sides, securing the placket to your front bodice.
Step 4. Sewing on the Buttons
Now it’s time to add the buttons! I use a button gauge to mark mine so I know that they are spaced evenly apart. Determine how many buttons you’d like and how far apart you would like them spaced. Mark the button placement with a washable maker of your choice. Be sure your top button and bottom button are placed far enough away from the edges so that they will not be in the seam allowance when you are attaching your neckband and skirt.

Once you’ve marked your button placement you can sew them on using the method of your choosing.
Tutorial from JESSICA RABBITT
-

Customer Appreciation Days
Join us for Customer Appreciation Days!! Deals will be running in-store Thursday, Sept. 1st - Saturday, Sept. 3rd. This event is...
Read More -
Why Do I Need Firmware Upgrades for My Sewing Machine?
Firmware is a software program or an updated set of instructions used in electronic-based sewing machines that are provided by our...
Read More -
Sewing & Quilting Health Benefits
Quilting is not only a fun and creative hobby, but it also has many health benefits that can improve your...
Read More -
BERNINA District D Dealer of the Year
We have amazing news... DRUMROLL PLEASE! Aurora Sewing Center has been awarded the BERNINA District D Dealer of the Year!...
Read More -
How to Make & Embroider a Rope Bowl
Instructions to Sew a Rope Bowl Step 1. Start fresh I like to clip a clean end to the start...
Read More -
Is Your Sewing Machine Making Bird’s Nests?
Are you getting those annoying tangles or “birds nests” of thread on the bottom-side of your fabric? These thread tangles...
Read More -
Make a Sewing Machine Cover
Instructions for a sewing machine cover with ties! Perfect for keeping your sewing machine clean while it's not in use....
Read More -
How Long Does a Needle Last?
The general rule of thumb is to change the needle every six (6) to eight (8) hours, BUT who “times”...
Read More -
4th of July Star Bunting
Get ready for the 4th of July early with this patriotic Star Bunting! It's the perfect summer project. Star Bunting...
Read More -
Where does the thread start?
You just purchased a new large spool of Aurifil cotton thread and unwrapped it... now you are looking for the...
Read More -
The Great New York Shop Hop 2022
Join Aurora Sewing Center and many other local quilt shops for "The Great Shop Hop 2022"! The Shop Hop runs from...
Read More -
Check out our Full Bobbin Program!
When you purchase your new sewing machine from Aurora Sewing Center, in many cases you have the option within the...
Read More
« Newer articles 1 2 3