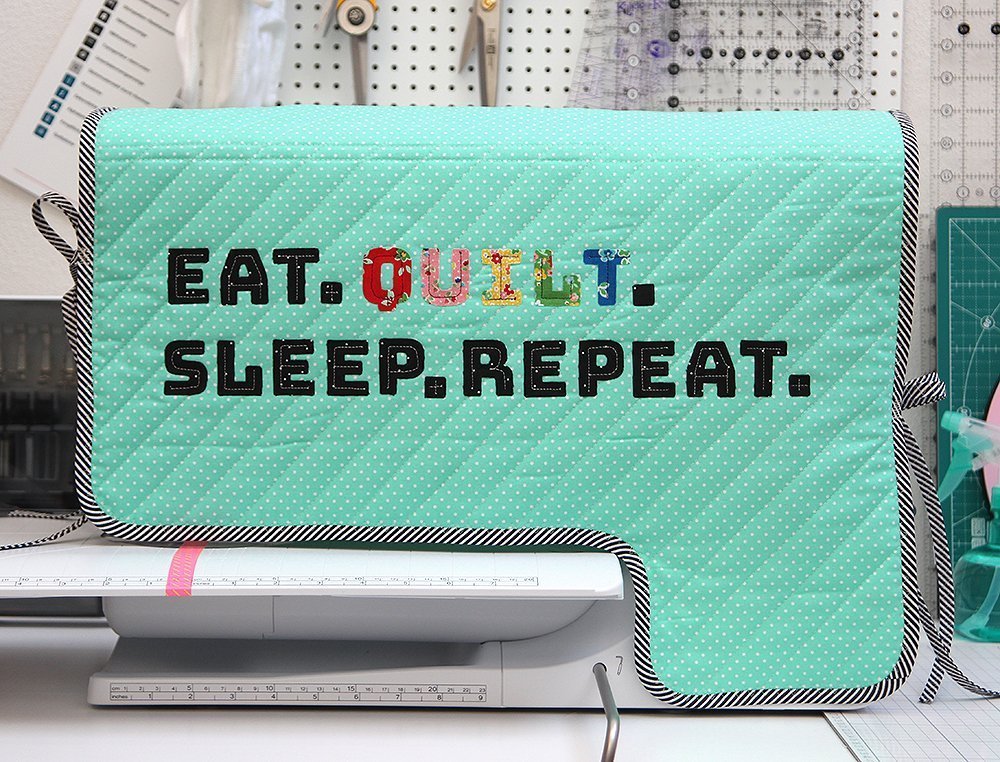
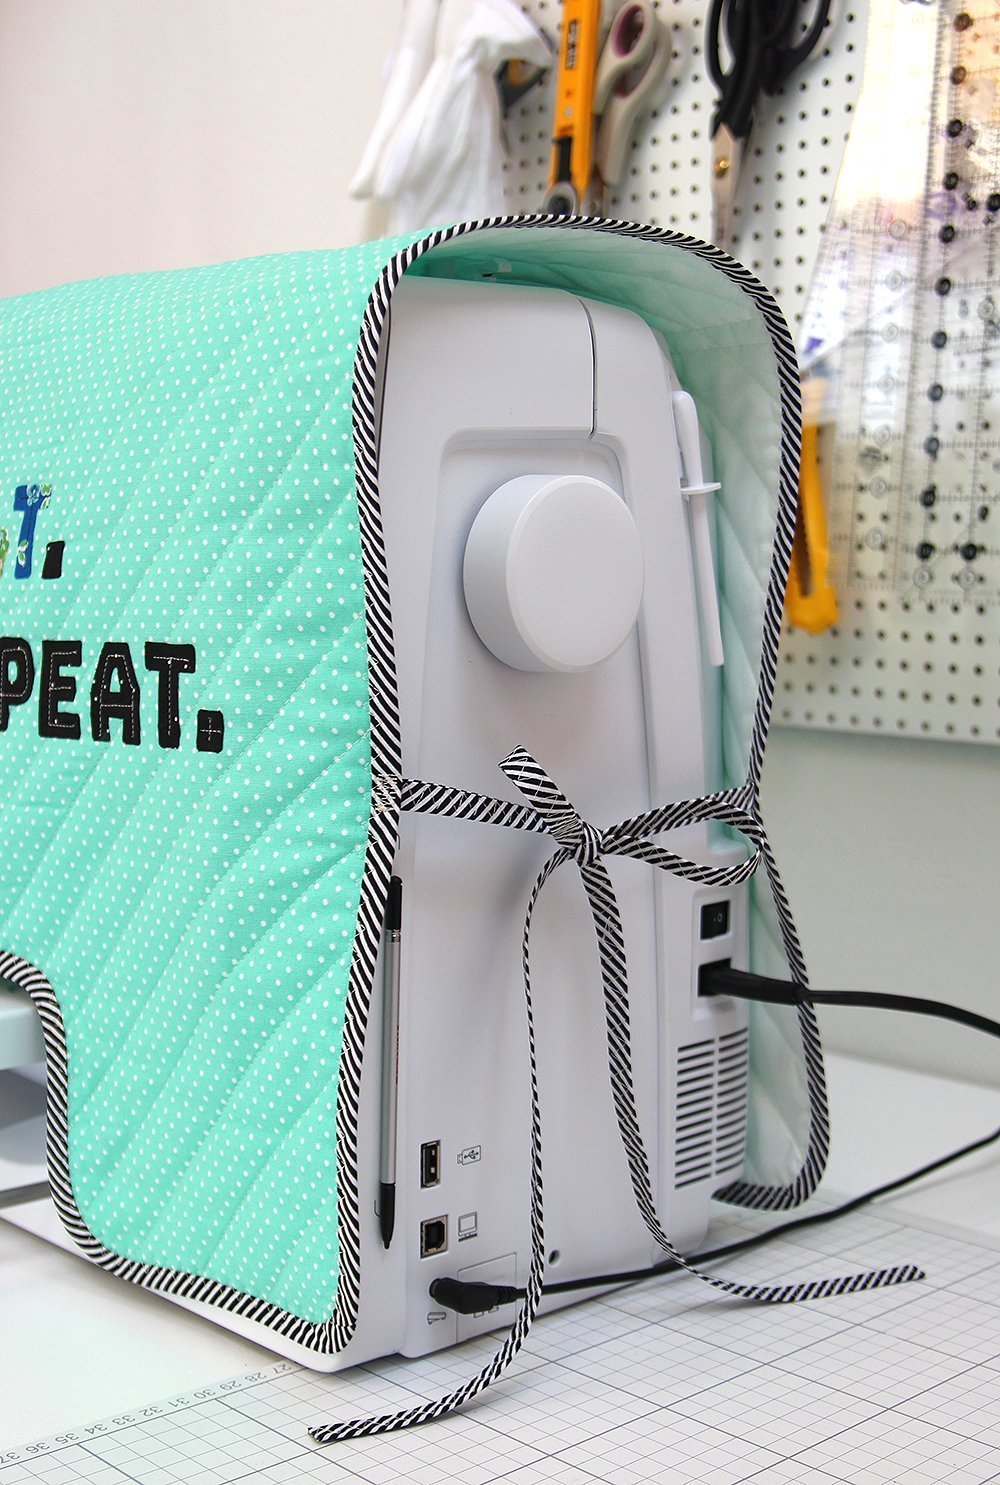
Make a Sewing Machine Cover

Instructions for a sewing machine cover with ties! Perfect for keeping your sewing machine clean while it's not in use. You can download and print out the appliqué template here.

Creating appliqués
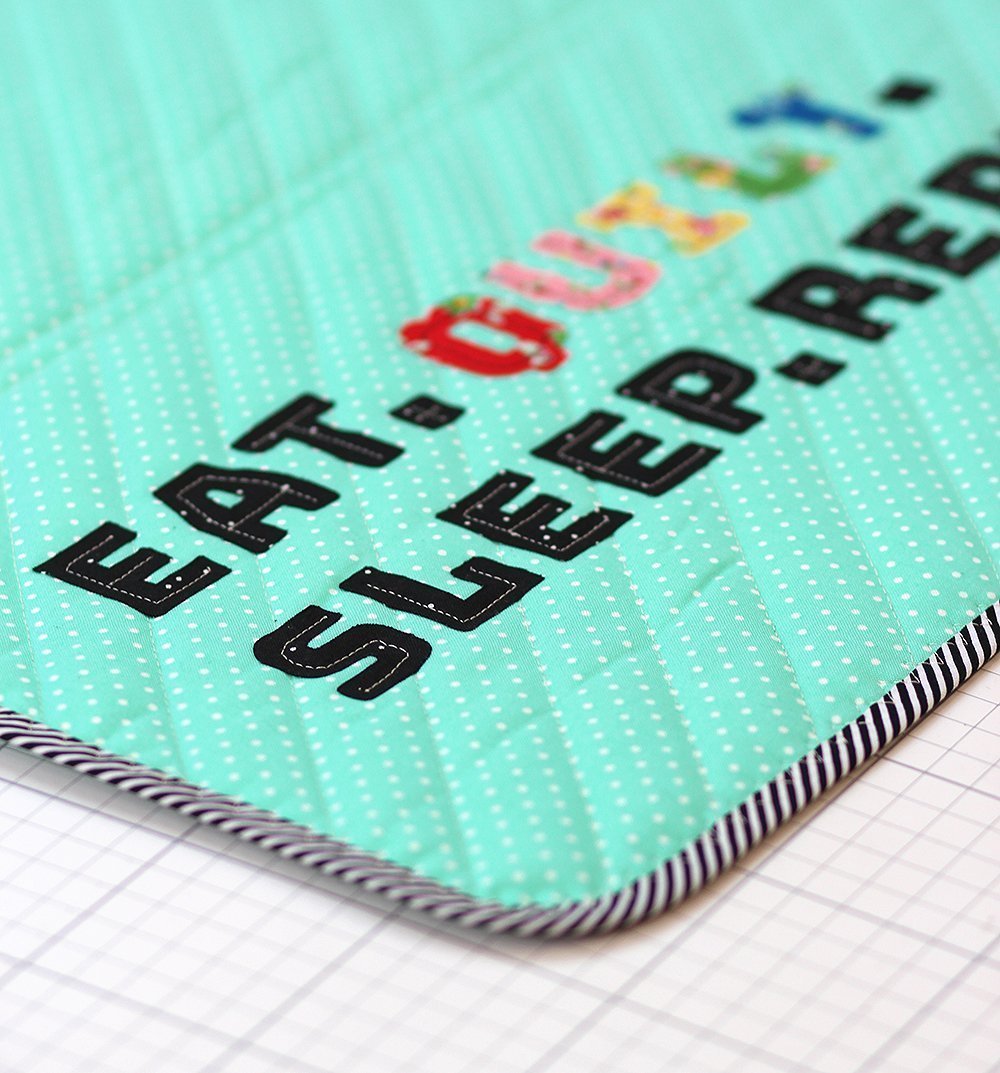
First of all, we are going to create the appliqués. You can download and print out the appliqué template here (keep the scale at 100% or "actual size"):
Eat.Quilt.Sleep.Repeat.Template
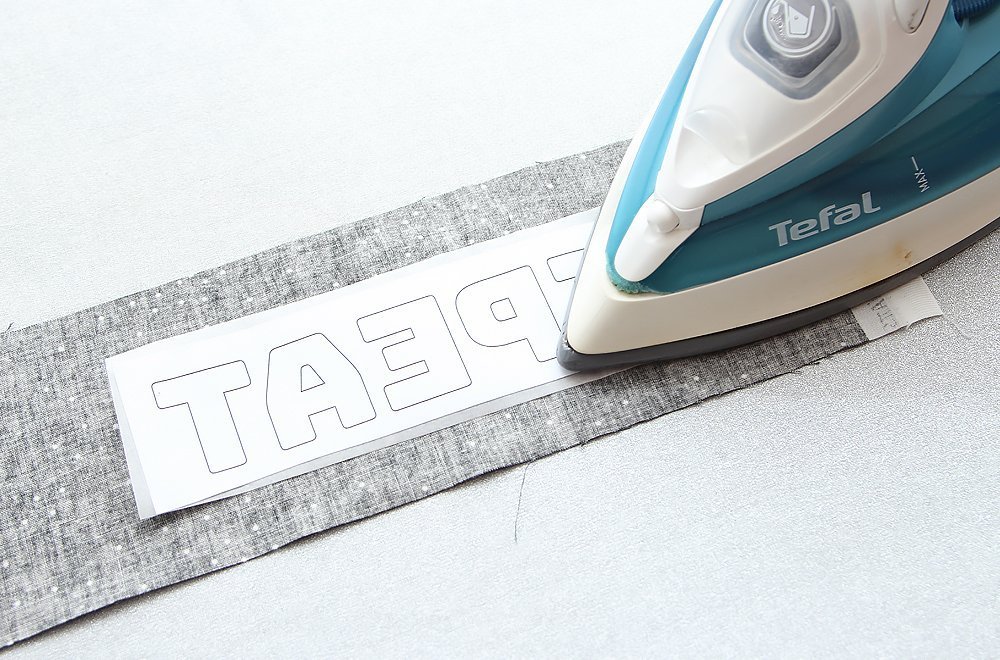
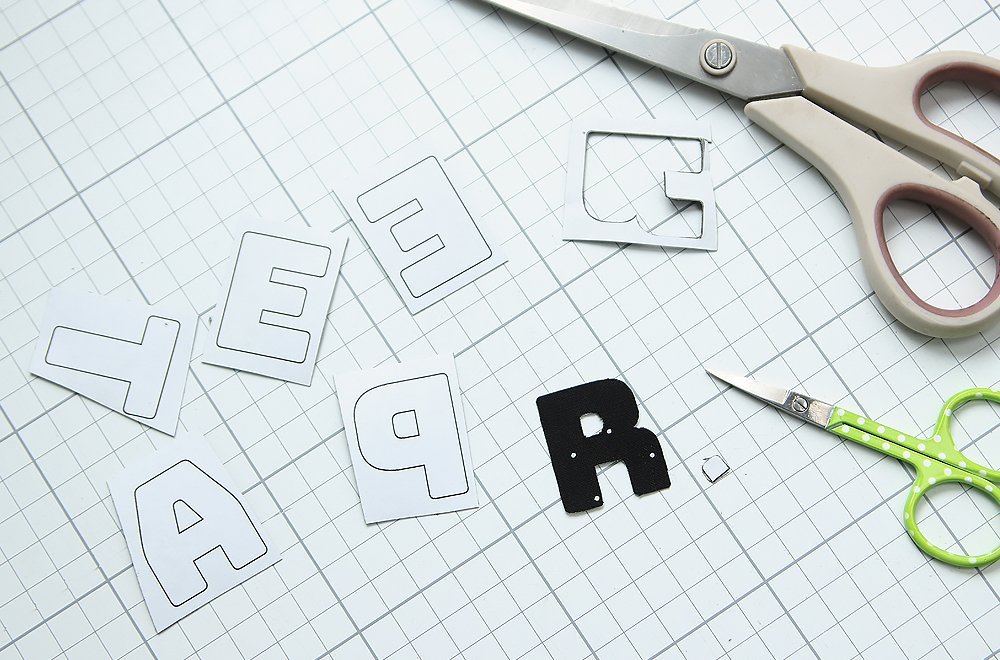
Instead of tracing the letters from the template, proceed as follows:
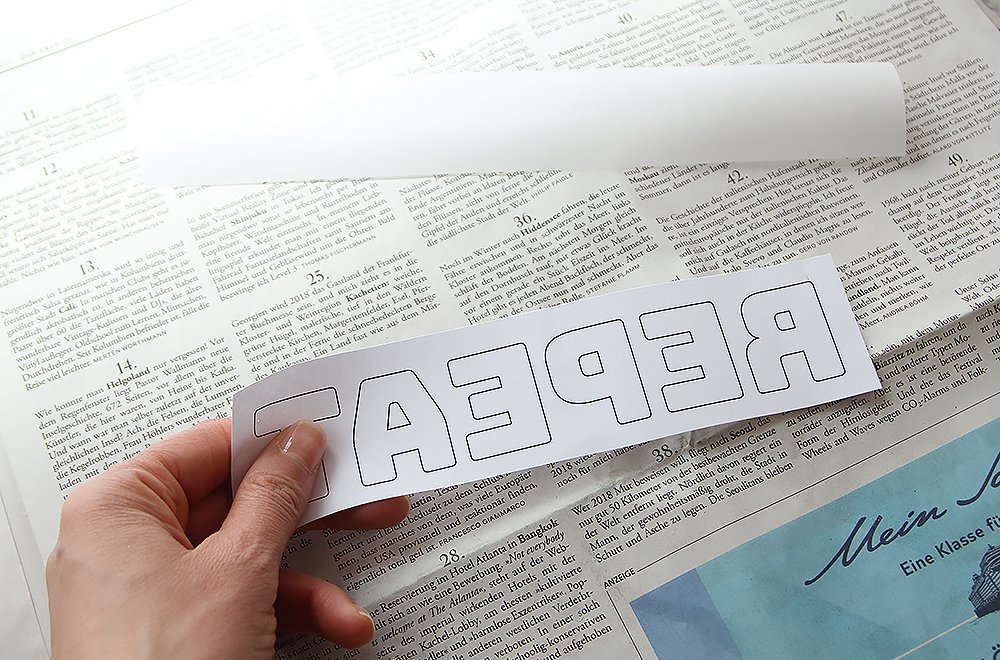
1. Print out the template and cut it out roughly.


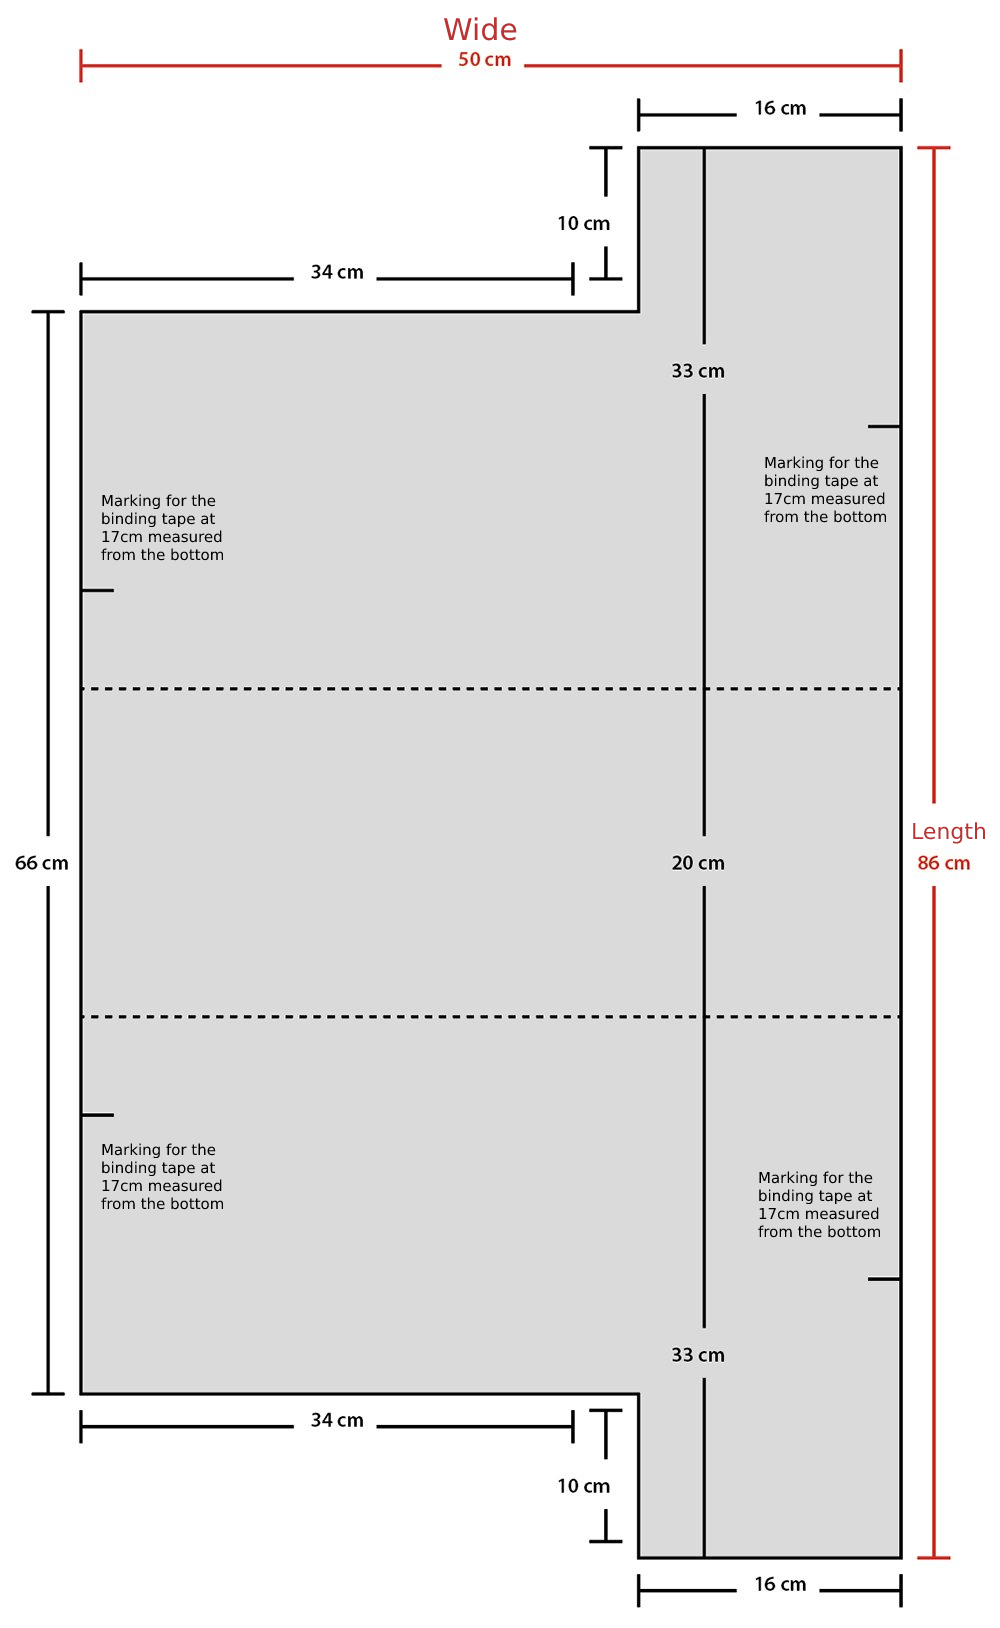
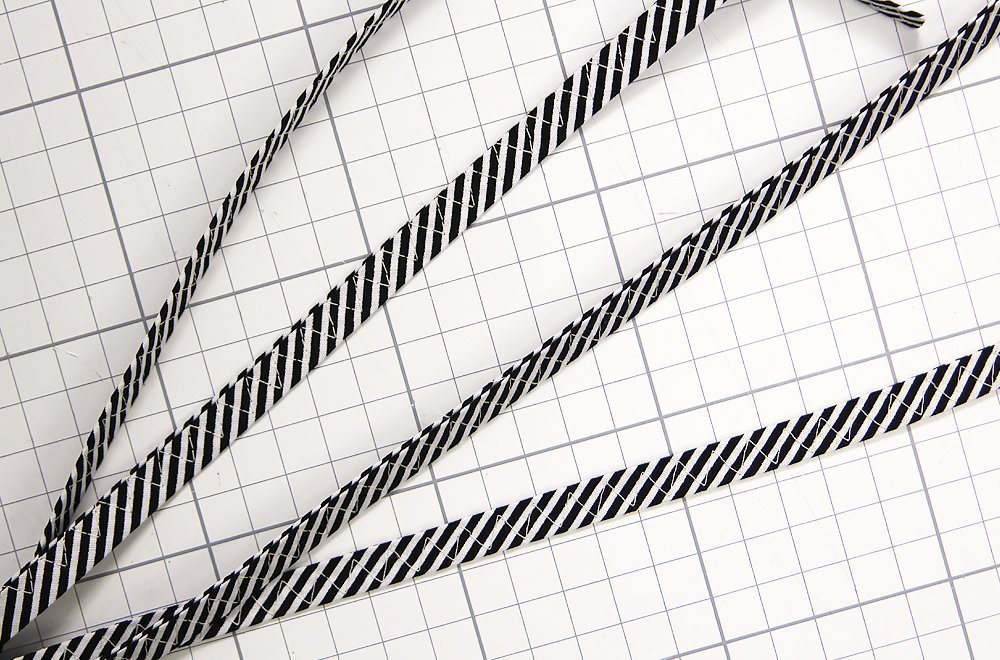
Creating the sewing machine cover

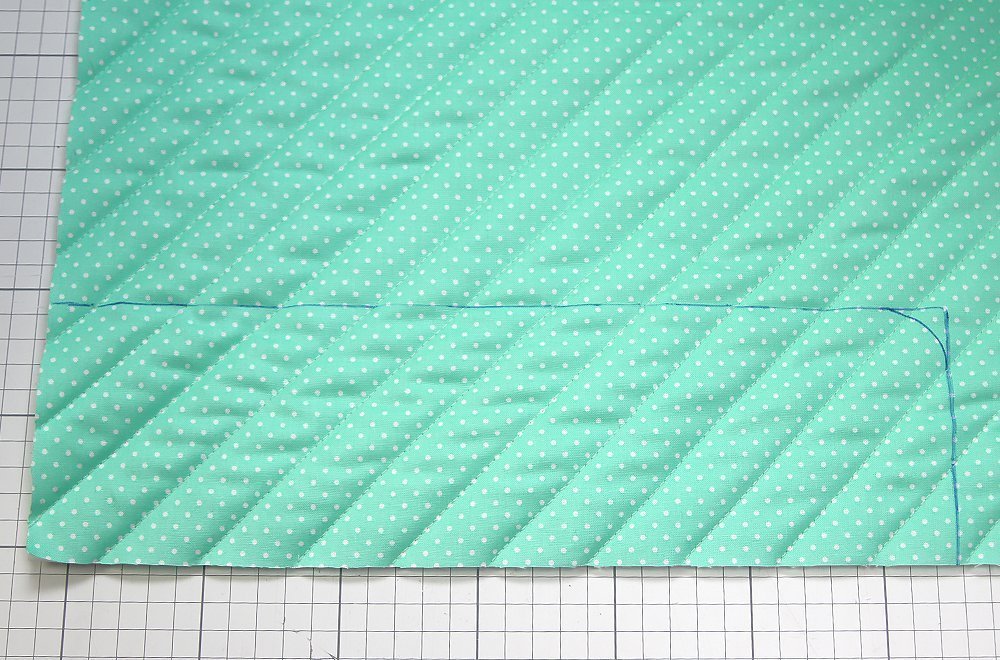
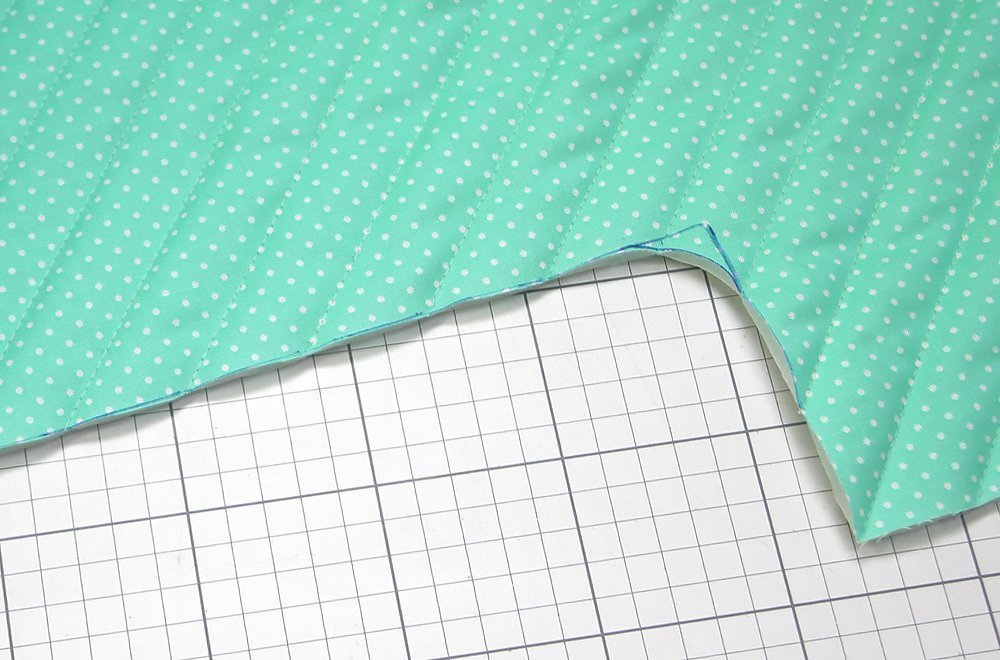
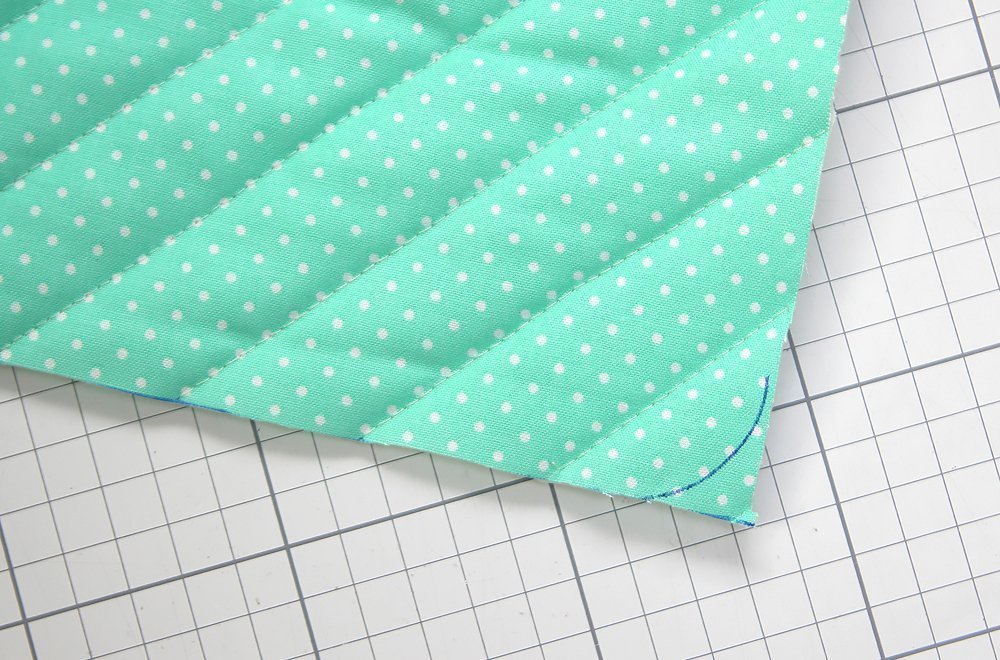


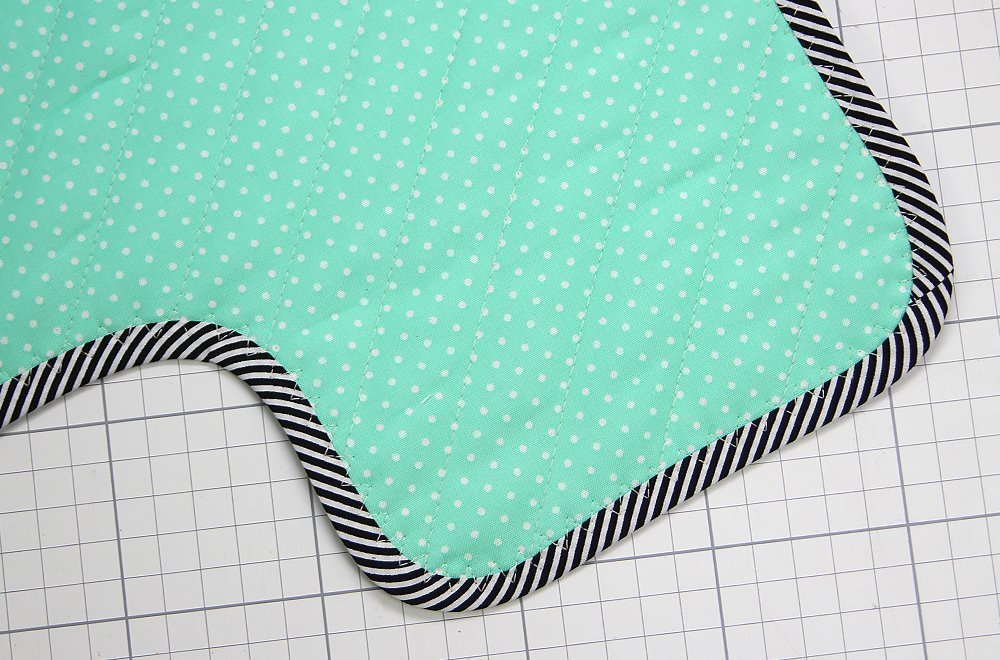
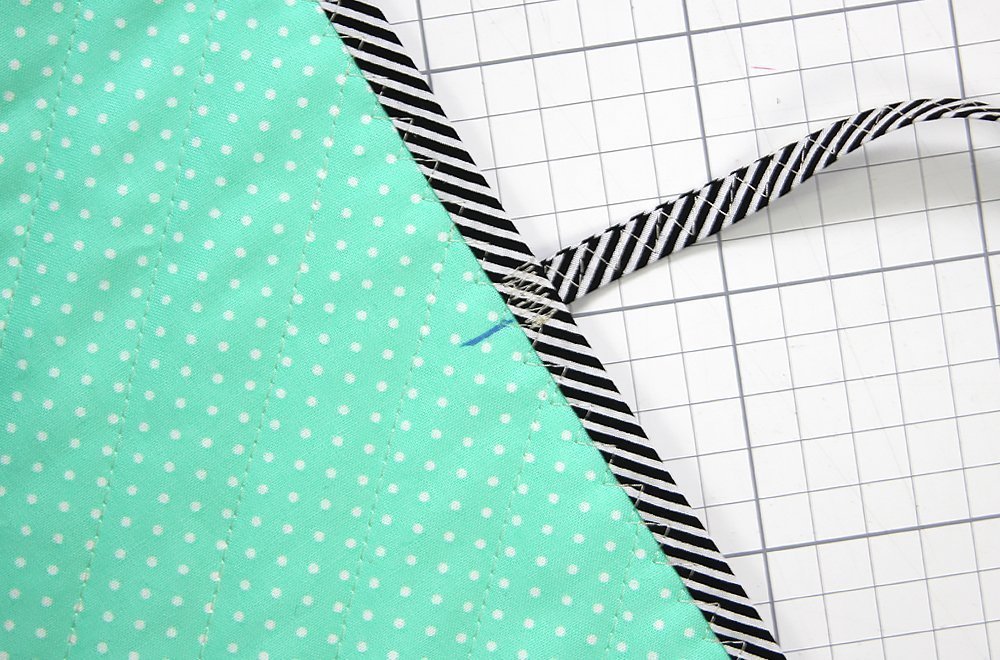

8. Lastly, iron on the appliqués using the manufacturer’s instructions and then stitch firmly. Since I won’t be putting this sewing machine cover in the washing machine, and at the most will shake it out, I’ve opted for the so-called raw edge appliqué method, so I did not neaten the edges. This is a little simpler for smaller appliqués like these letters than a zigzag border. And that’s it!
-

A Round Up of Our Favorite Embroidery Hoops
Hoop there it is! Join us as we explore different types of embroidery hoops and discover what each one can...
Read More -
Watch the Replay of Schmetz: What Needle Should I Use?
Broken threads, skipped stitches, puckered fabrics… sound familiar? You might be surprised to learn the issue often isn’t your machine,...
Read More -
Winter Is the Perfect Time to Start Sewing (or Get Back Into It)
Winter is the perfect season to slow down, stay cozy, and rediscover your creativity. Whether you’re brand new to sewing...
Read More -
Your Machine Embroidery Journey Starts Here!
Are you ready to start your journey into the world of machine embroidery? Whether you’re brand new to embroidery or...
Read More -
Cheers to 39 Years - A Night to Remember.
Celebrating You On June 5th, 2025 we celebrated our 39th Annual Banquet at Kloc's Grove! It was a night of...
Read More -
From Treadles to Touchscreens
Celebrate National Sewing Machine Day! Friday, June 13th 2025 Since the 1800s, sewing machines have been a pivotal part in...
Read More -
Spring Cleaning Isn’t Just for Closets — Give Your Sewing Machine Some Love!
Spring is in the air, and while you're busy decluttering closets and freshening up your space, don’t forget one of...
Read More -
Incorporating Embroidery into Quilts: Creative Ways to Add Embroidered Details to Quilts
Quilting is a time-honored craft cherished for its blend of artistry and tradition. Adding embroidery to your quilting projects elevates...
Read More -
Start the New Year Sewing with Confidence and Creativity at Aurora Sewing Center
January is the perfect time to dive into new hobbies or rediscover ones that have been waiting for a fresh...
Read More -
Join Our Holiday Sew Along: Create Quick and Festive Gifts with Aurora Sewing Center!
There’s no better way to get into the holiday spirit than by sewing unique, heartfelt gifts and decorations. Aurora Sewing...
Read More -
Stitch Up Some Seasonal Magic: Gift Ideas for Sewists & Quilters
The holiday season is just around the corner, and you know what that means—exciting Black Friday and Cyber Monday deals...
Read More -
What could possibly be new with the latest Sewing Machines?
Are you wondering what could possibly be NEW from the top sewing machine manufacturers? Well, 2024 and 2025 are shaping...
Read More -
Tips on using a Ruffler Foot Attachment
Have you ever used a Ruffler before? At a glance, the Ruffler Attachment can look a bit scary, however once...
Read More -
Threads of Compassion: Raising Funds to Stitch Together Community Support
Aurora Sewing Center’s 38th Annual Banquet at marked another year of celebration and giving back to the community. Held each...
Read More -
Is it time to get your sewing machine SERVICED?
Is it time to get your sewing machine serviced? Have you been sewing a fair bit getting those projects done? ...
Read More -
2023 Customer Appreciation Days
Calling all sewing enthusiasts! Clear your schedules for September 14-16 because Aurora Sewing Center's much-anticipated Annual Customer Appreciation Days are...
Read More -
Expanding Our Product Offering
Aurora Sewing Center is proud to announce an exciting expansion of our sewing machine offering. We are thrilled to introduce...
Read More -
Sew Outside and Enjoy the Outdoors!
Here is New York, nice warm weather can be limited to four months or so. Most of us try to...
Read More -
2023 Club Banquet ... A Night of Generosity and Thanks
What is the Aurora Sewing Center CLUB? There are actually three different Clubs (Sewing Club, Embroidery Club and Serger Club). ...
Read More -
2023 Shop Hop
Join Aurora Sewing Center and many other local quilt shops for "The Great NY Shop Hop 2023"! The Shop Hop runs from June...
Read More -
Victor GRAND OPENING WEEK Schedule
Aurora Sewing Center, is sew excited to be celebrating the Grand Opening throughout the week of May 1st, 2023...
Read More
1 2 3 Older articles »