Curvy Coasters Tutorial
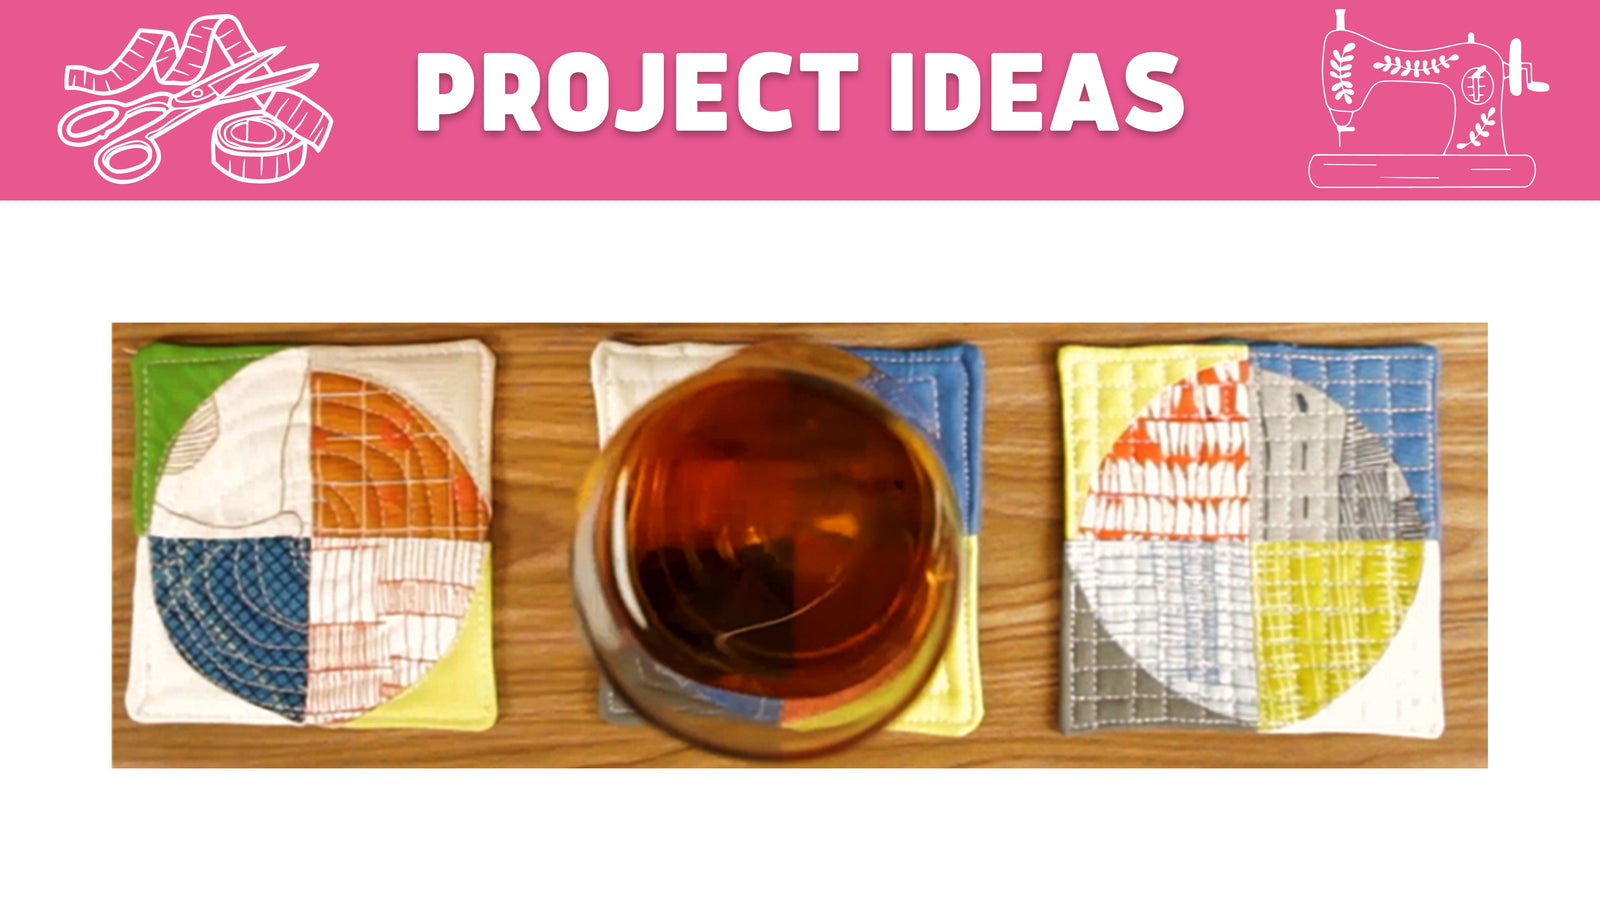
Curves are generally seen as a more advanced technique when it comes to quilt piecing. Quilts based on a Drunkard’s Path block are gorgeous but may be a challenge and big commitment if you’ve never pieced curves before. Today, I’ve got a great project for you to sample the world of curves and end up with an adorable accessory for your home!
Materials to Sew Curvy Coasters
- Fabric
- Cut to 2.5″ squares
- 8 squares needed per coaster
- Total of 32 squares for a set of 4 coasters
- Coaster backing cut to 4.5″ squares
- One per coaster
- Mini Drunkard’s Path template
- Batting scraps
- Cut to 4.5″ squares
- Rotary cutter
- Cutting mat
- Pins
- Pin cushion
- Aurifil 50 wt cotton thread
- Iron
- #97D patchwork foot
- Sewing Machine
Instructions to Sew Curvy Coasters
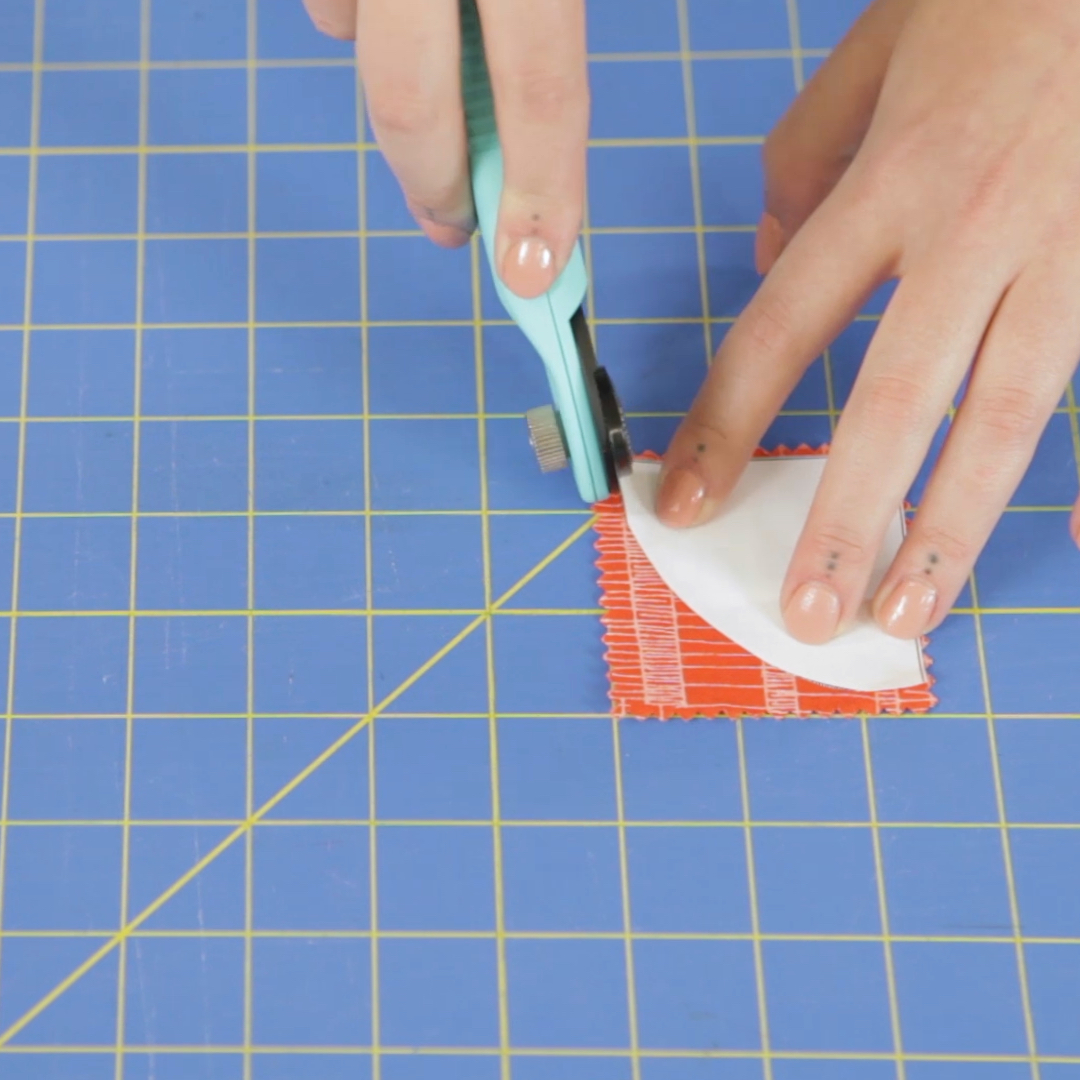
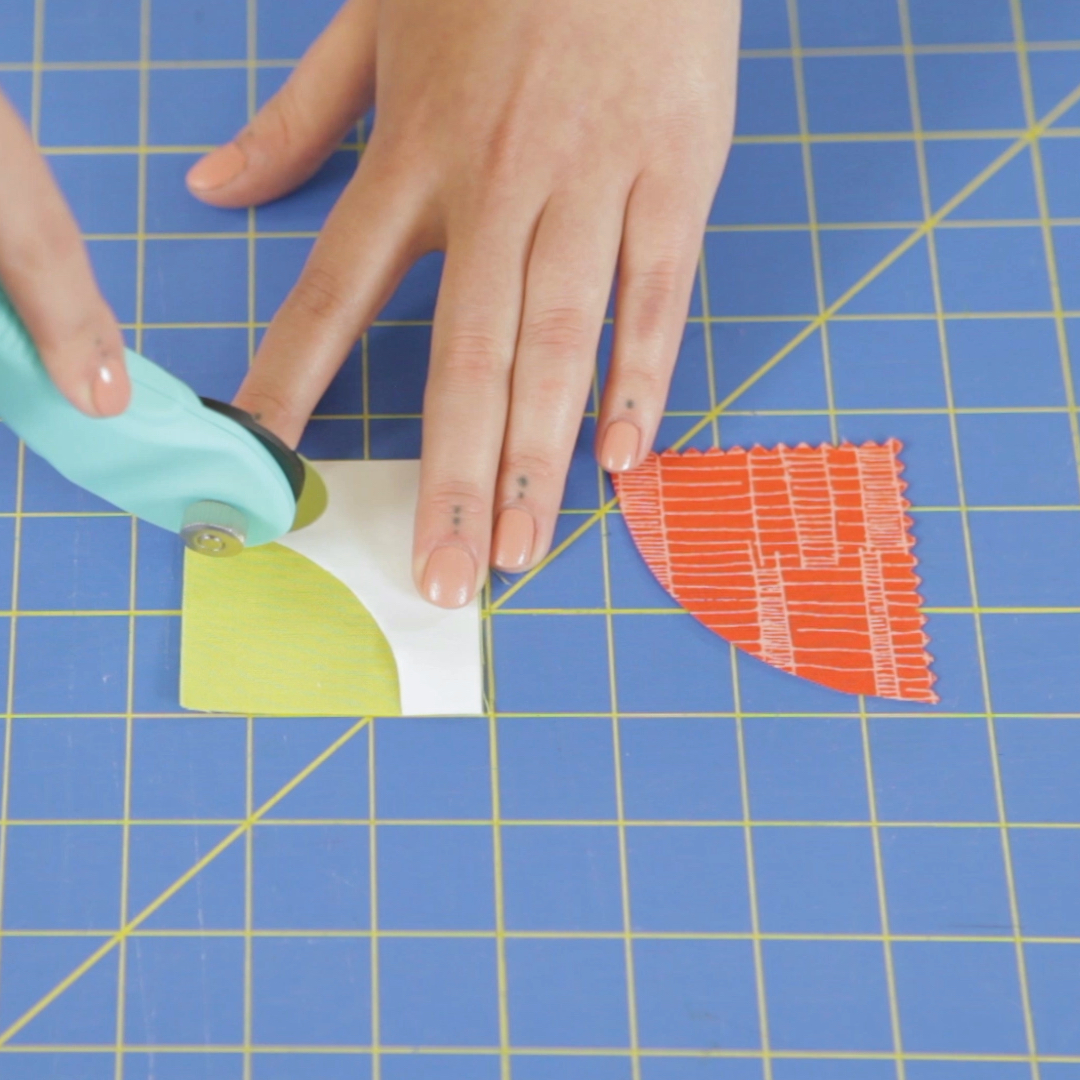
Step 1. Get cut out
Start by printing and cutting out the templates for piecing. You’ll end up with two parts—the inside of your curve and the outside.
Lay the templates over your fabric and cut accordingly. You should have 4 inside curve pieces and 4 outside curve pieces for each coaster. I’ve mixed and matched my fabrics for a scrappy look.
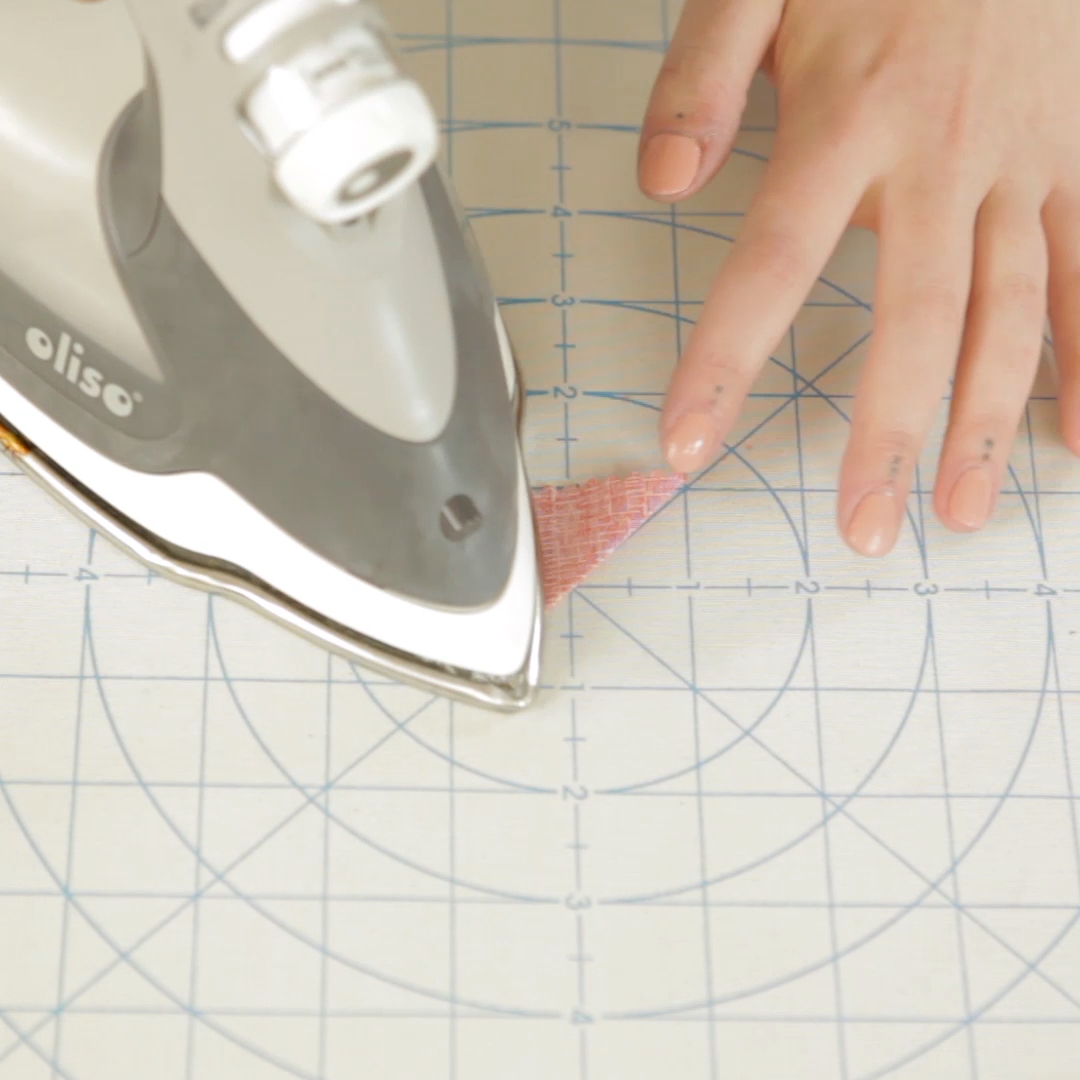
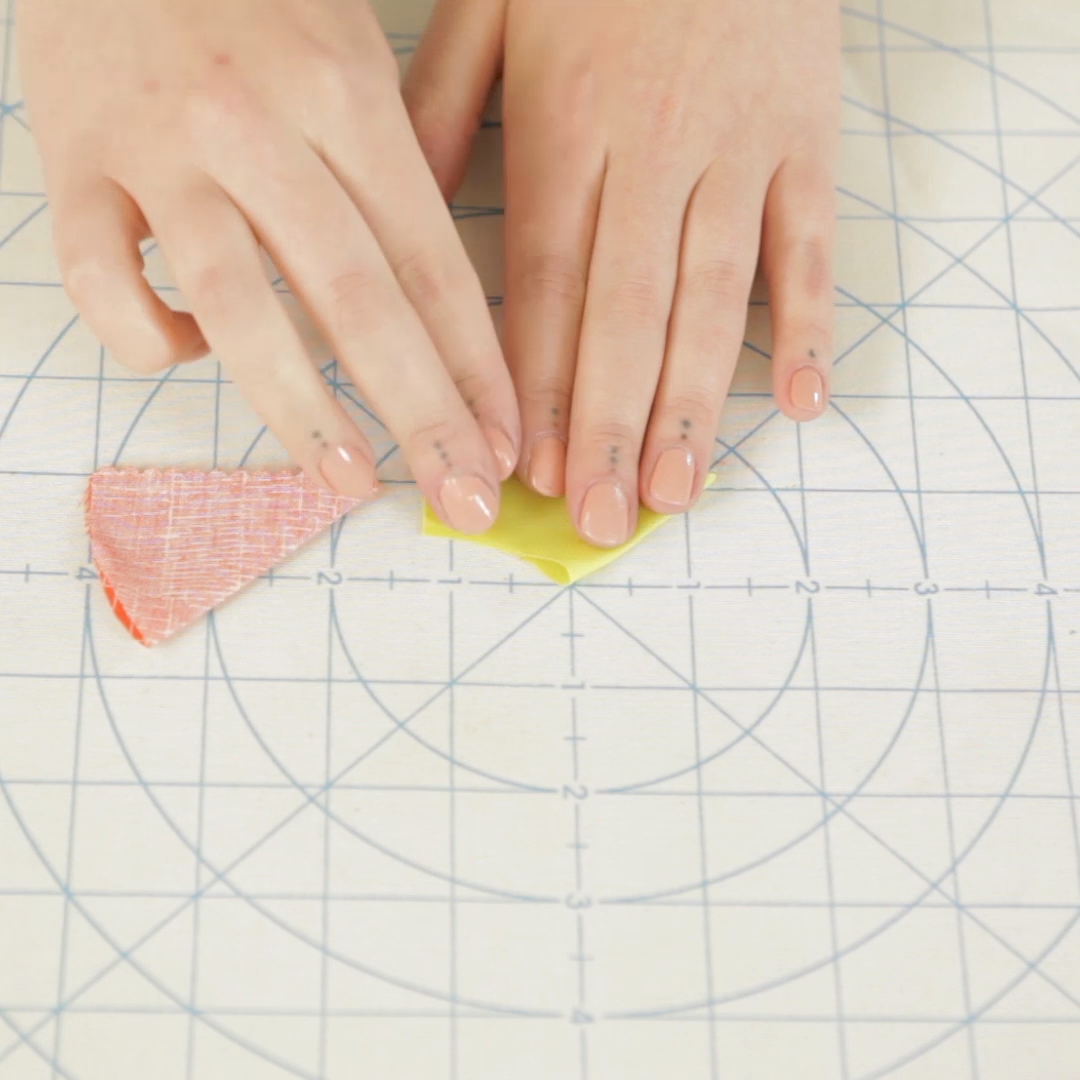
Step 2. Press in half
Fold your cut pieces in half by aligning the long straight edges and press. This is going to create a center alignment point when we start pinning and sewing these pieces together.
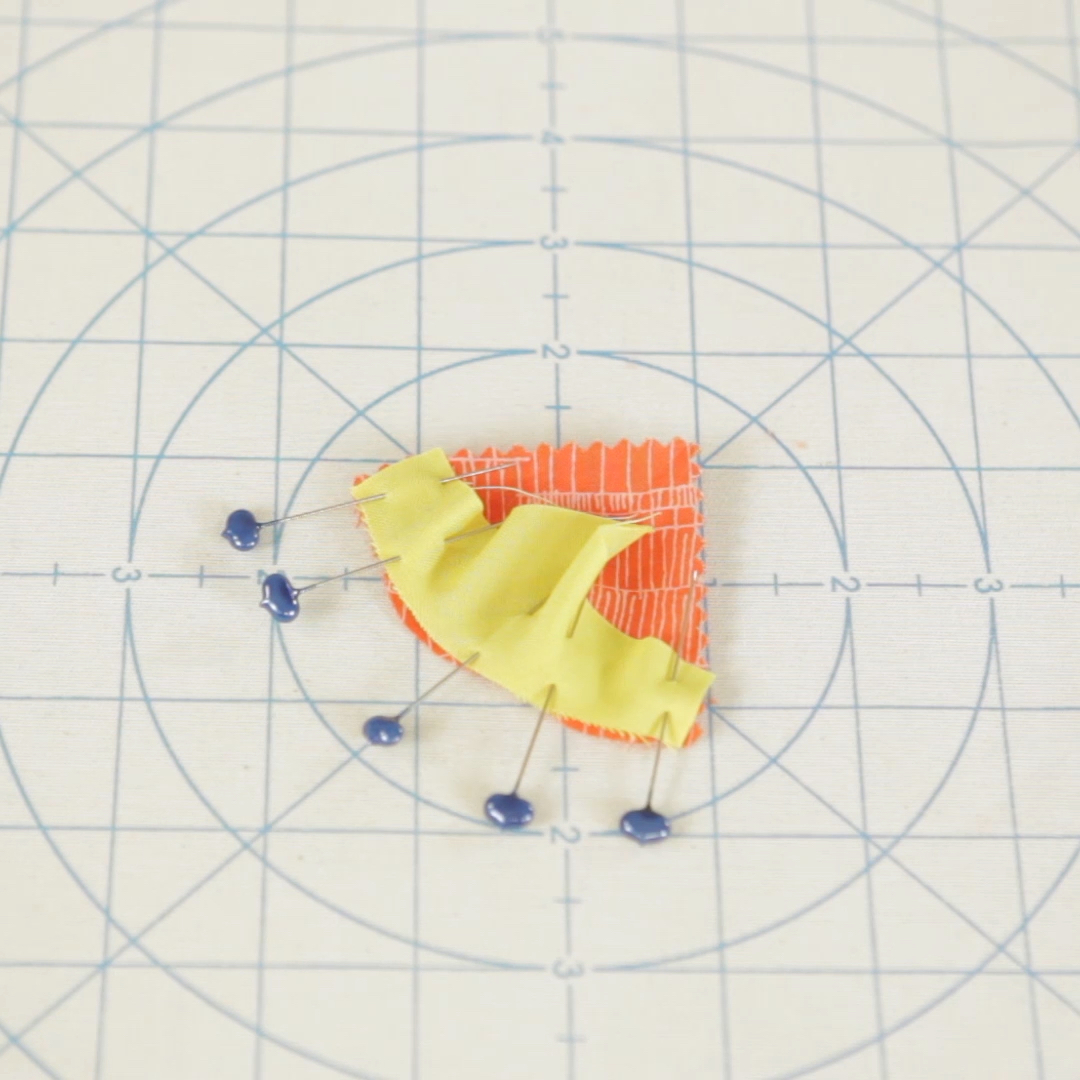
Step 3. Pin
Place one inner curve piece and one outer curve piece right sides together, aligning the pressed creases. Pin together at this point. Then, pin together at the beginning and ending points of the curve. Add additional pins as needed to ease the curve and keep raw edges aligned.
Step 4. Seam your curve
Stitch the inner and outer curve pieces together using the #97D foot. The #97D is my favorite ¼” patchwork foot. Keep your raw edges aligned with the edge of the foot as you travel around the curve. You can also install the patchwork seam guide that comes with the #97D for extra assistance on your seam allowances.
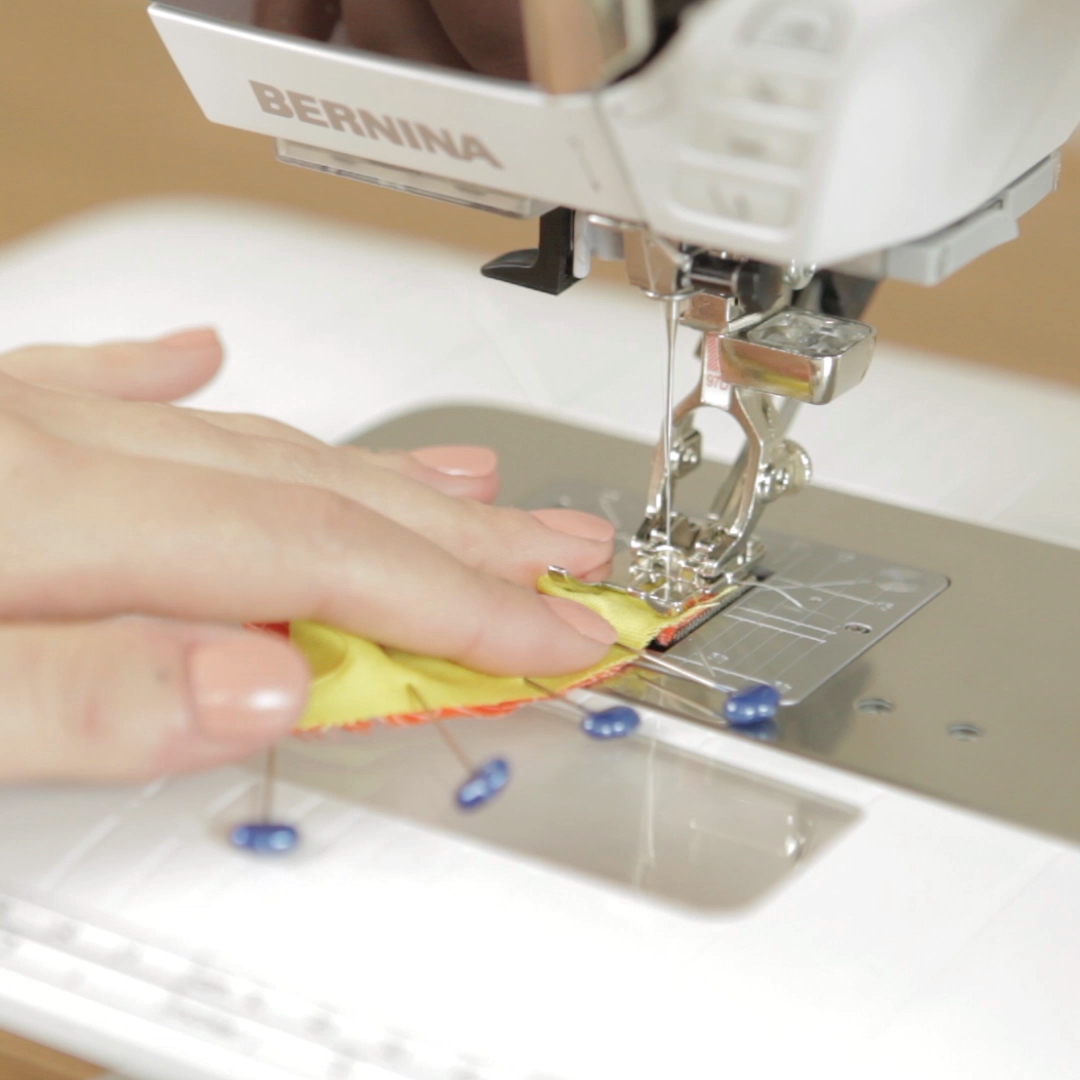
Remove pins as you work your way around the curve, being sure to keep things smooth and pucker-free. Dual Feed helps your fabric move under the foot evenly without shifting.
Step 5. Press & trim
Press your curve smooth, pressing the seam allowance toward the outer curve piece.
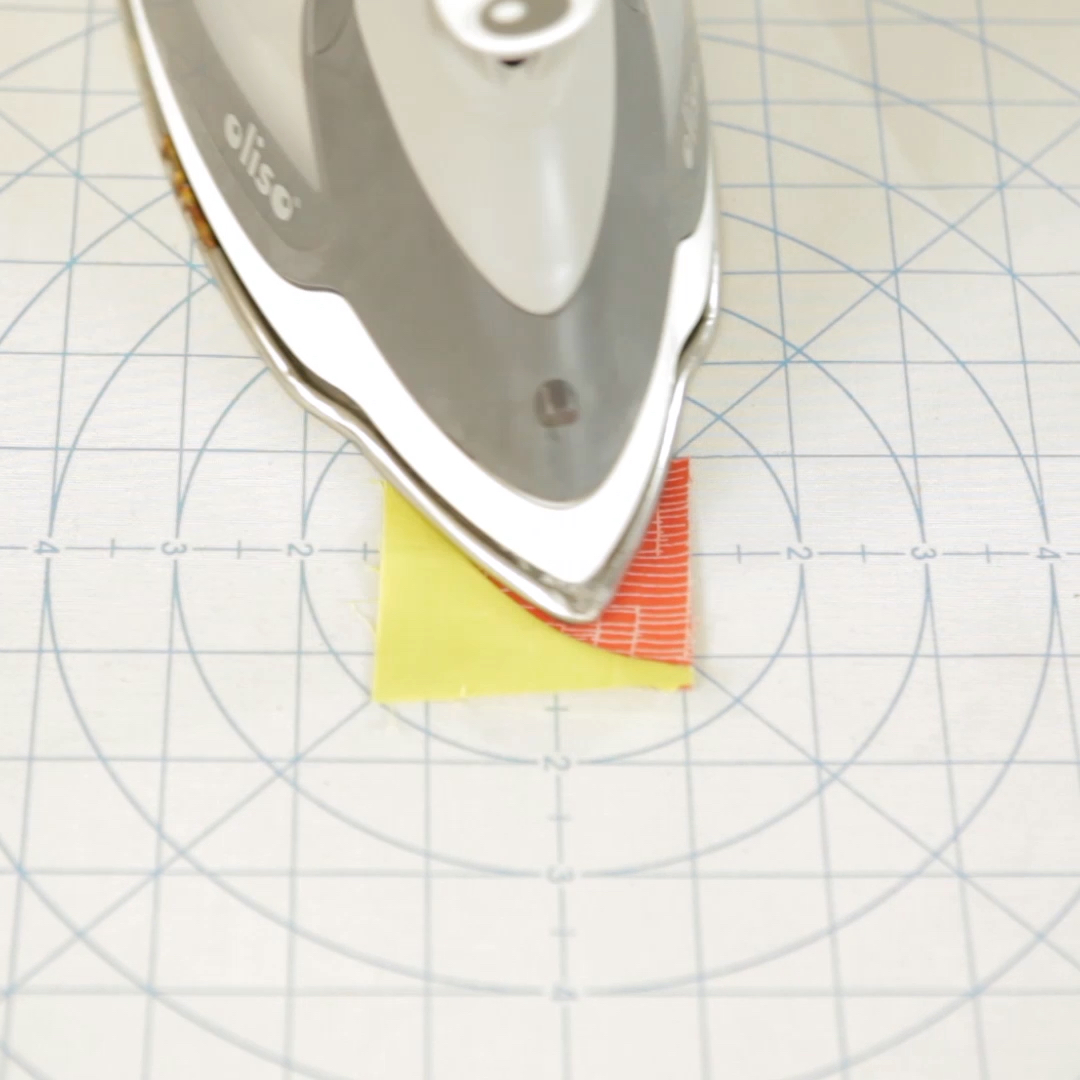
Trim each of your curved pieces to clean 2.5″ squares.
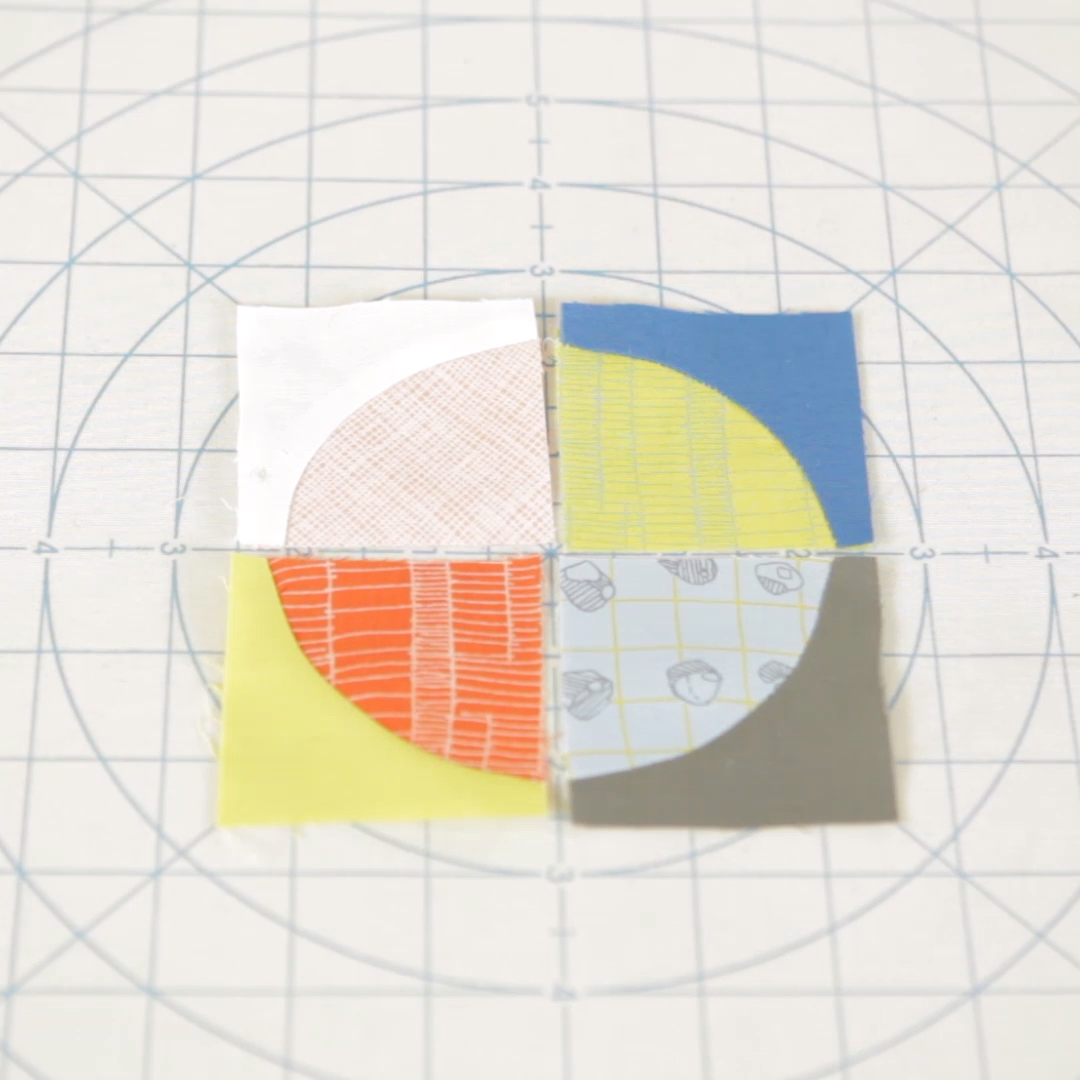
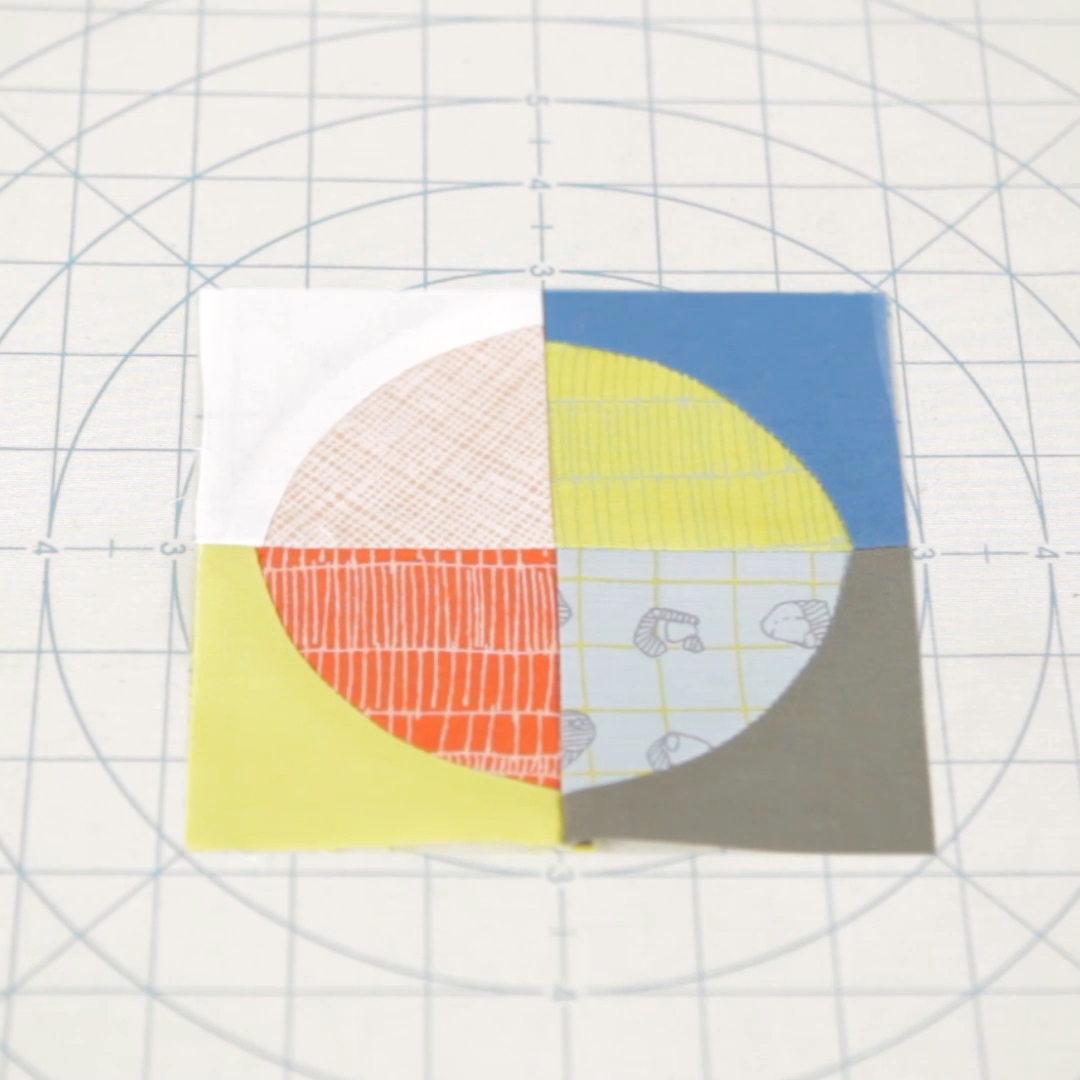
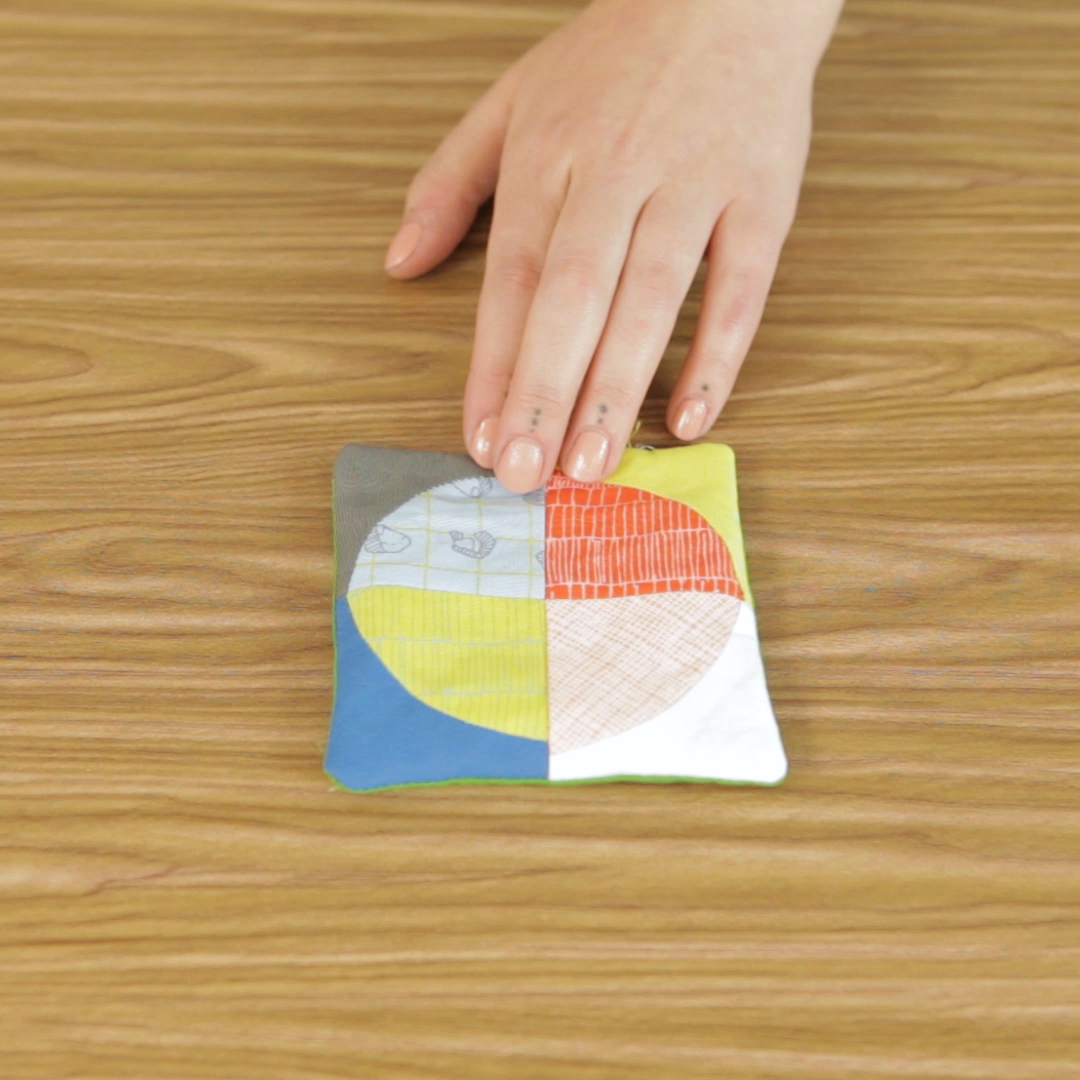
Step 6. Complete the circle
Piece your quarter circles into half circles. Press seams to the right. Then piece the two halves to a complete block. Your seams should nest at the center point.
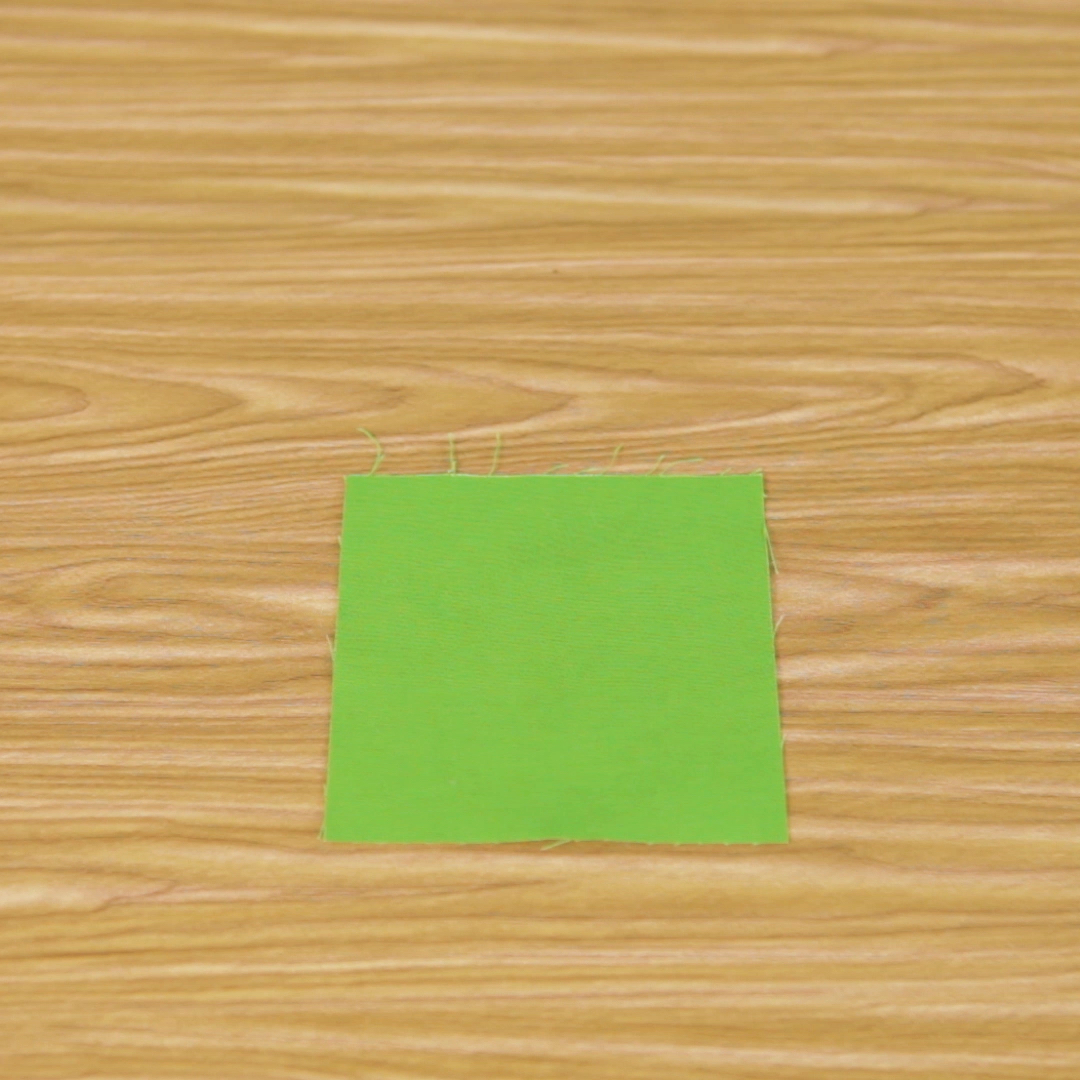
Step 7. Coaster…assemble!
Layer your coaster backing fabric right side up, then pieced “top” right side down, and batting square on top.
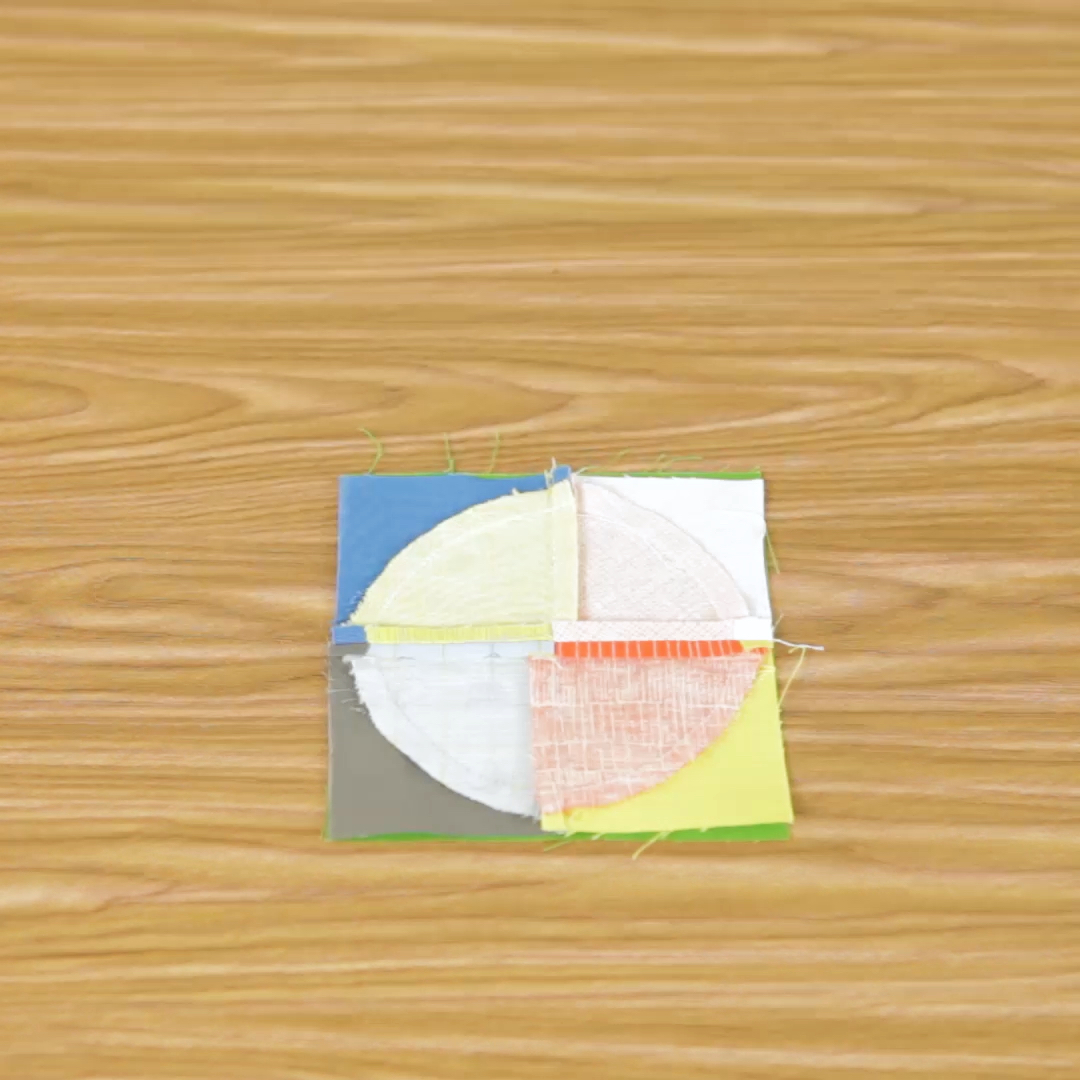
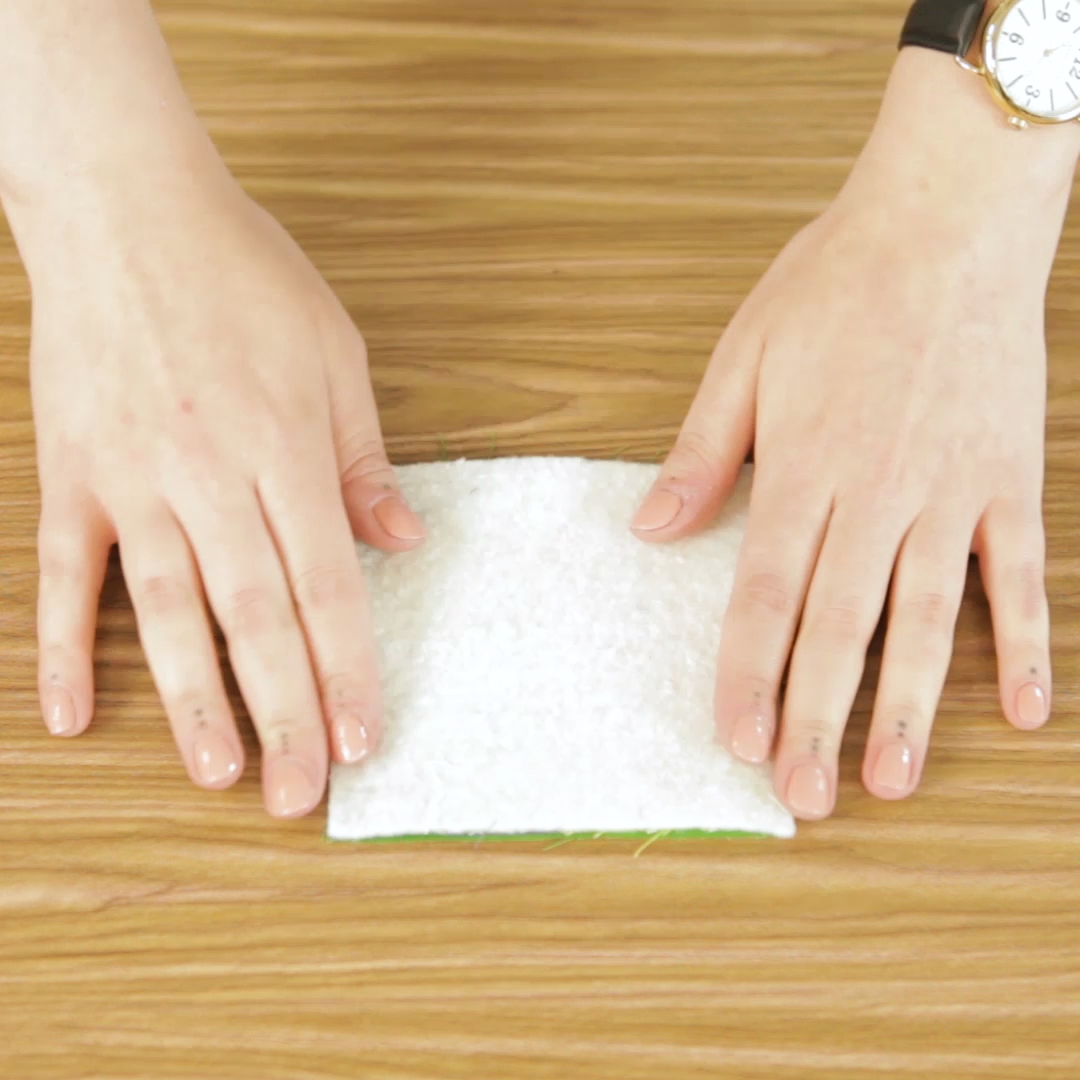
Stitch around the perimeter with a ¼” seam allowance, leaving a 2″ opening along one side.
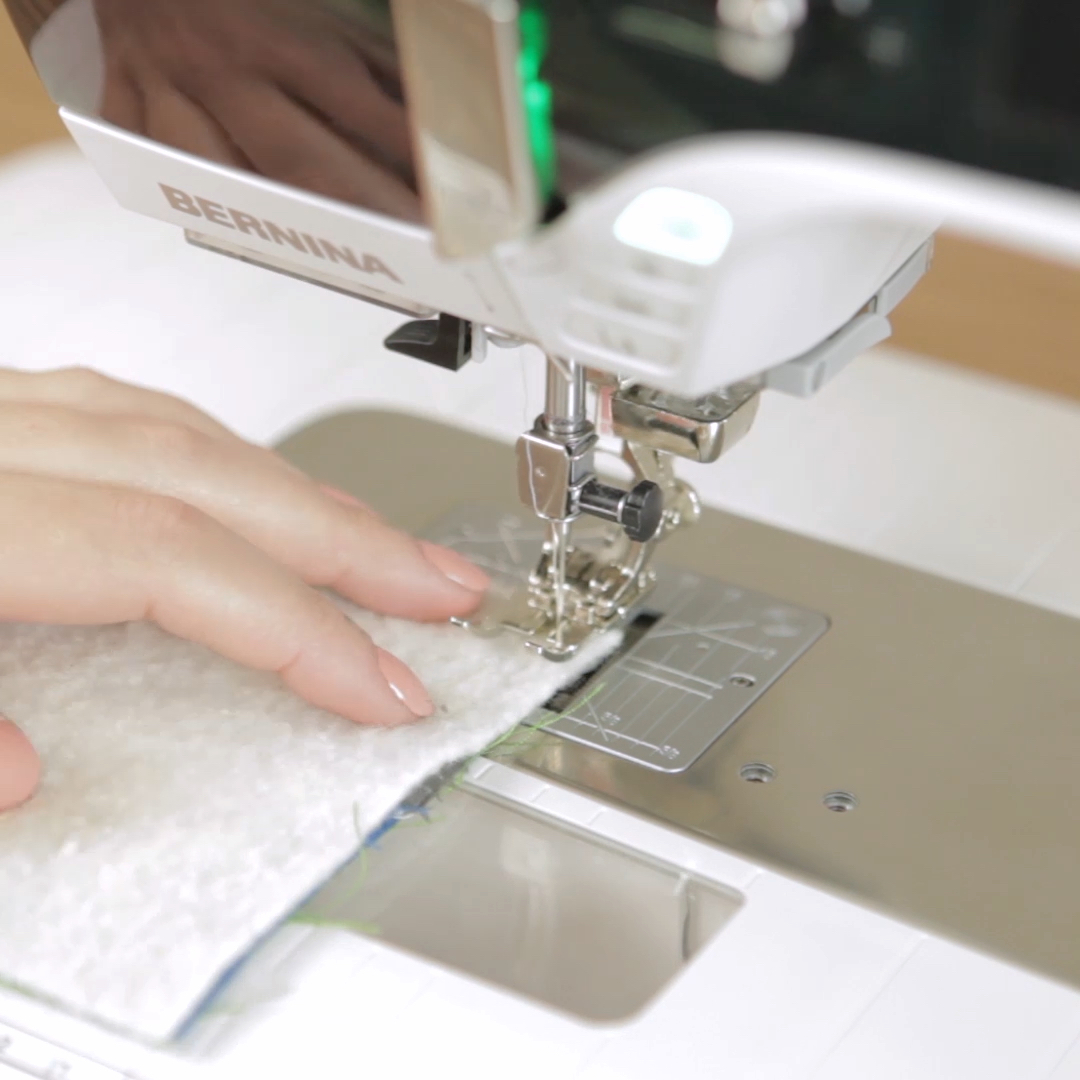
Flip right side out so that the batting is layered between the back and pieced top. Press the raw edges at the opening in ¼”.
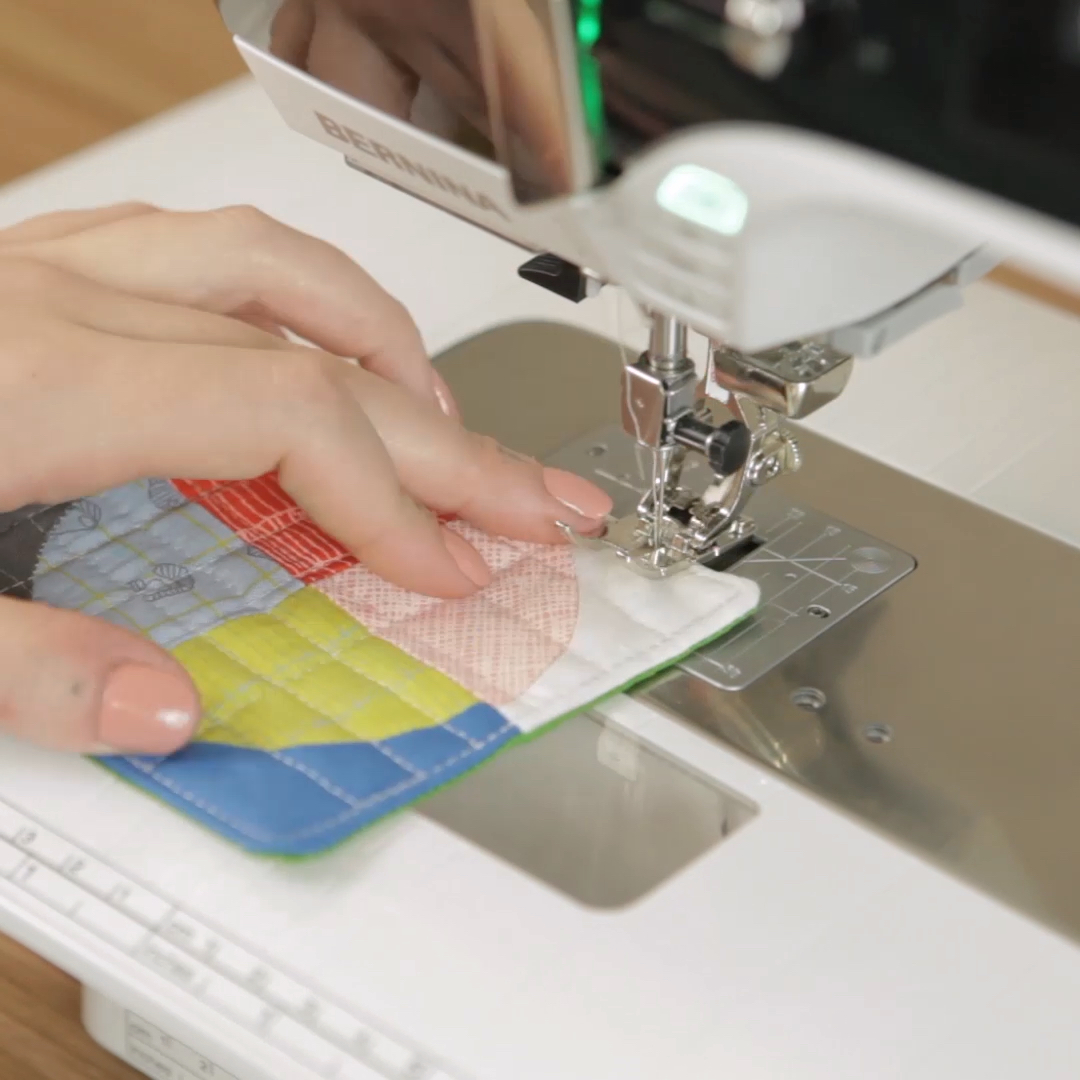
Step 8. Quilt!
Finally, quilt your coaster as desired! I started by stitching around the perimeter of the coaster, closing the opening where we flipped right side out, then quilting a different design on each coaster.
My favorite designs were a small ½” grid, straight lines about ¼” apart, or a square spiral. These are a great way to try out new motifs before stitching on a full quilt!
Ta-da! A quick way to take a crack at piecing curves! Expand your skill set and walk away with a utilitarian result—my favorite combination.
Posted from BERNINA WeAllSew
-

Pop-in Demo Day during our Victor GRAND OPENING!
Join us in Victor on Wednesday, May 3rd from 11AM - 4PM for a Pop-in Demo Day! Kimberbell Embroidery...
Read More -
What to Think About When it Comes to Sergers!
April is NATIONAL SERGER MONTH, and sergers have come a long way with their ease of threading and use. There...
Read More -
Clever Quilting Event with BERNINA
THREE SESSIONS AVAILABLE: MAY 5TH, 9:30AM - 1PM: REGISTER HERE MAY 5TH, 2PM - 5:30PM: REGISTER HERE MAY 6TH, 10AM...
Read More -
Quilting Thread Types & Differences
Sewing and quilting is an art form that requires attention to detail, the right equipment, and right sewing supplies. When...
Read More -
In-Store Home Show SALES!
We won't be in our usual spot at the Buffalo Home Show this year BUT GOOD NEWS! We are still...
Read More -
New Paper Piecing Classes with Eileen
Eileen is a paper piecing EXPERT! Are you interested in learning more about paper piecing and advancing your skills?...
Read More -
5 Tips for a Smooth Start to Sewing
How can I prevent the fabric from being pulled into the bobbin case area when I start sewing? Especially when...
Read More -
Rachel's Staff Pick
Rachel's Staff Pick is this Blush by Clothworks fabric collection! She recommends this fabric because it has gorgeous watercolor effects,...
Read More -
Free-Motion Quilted Placemats
The tutorial will take the quilting design from a sketch on paper to four unique placemats that will help practice...
Read More -
How to Make a Fabric Mini Basket
We can never have enough storage and when it comes Christmas season, a handmade storage basket makes the best gift....
Read More -
Victor Location Press Release
(FROM GLOBE NEWSWIRE) Siblings Scott Perry and Alyssa McDonnell, hadn’t planned on quitting their careers as an engineer and a...
Read More -
December Sew-Along Event
Join us in-store or virtually for our Holiday Sew-Along event! This event is included in your 22/23 Club membership. Make a...
Read More -
Our Victor Store is OPEN!!
IT'S FINALLY HERE!! Our Victor store is OPEN!! We thank you for your patience while we have gotten our third store...
Read More -
International Quilt Market
After three very long years, the International Quilt Market has finally returned! Alyssa, Sheila and myself (Scott) just returned from...
Read More -
Victor Store Updates from Scott & Alyssa
We are SEW EXCITED to see our sewing family growing! We are progressing with getting our new Victor store ready. We...
Read More -
Carve your Pumpkins with us!
Getting your pumpkins ready for Halloween? Carve a pumpkin with this downloadable Aurora Sewing Center stencil! DOWNLOAD STENCIL Just pick which size...
Read More -
Fun Glow-in-the-Dark Projects with Wonderfil Thread
Want to do something that really stands out this Halloween? This easy project uses machine embroidery and glow in the...
Read More -
Cleaning & Oiling Your Machine
Remove hardware Before you start your machine cleaning, remove the needle, presser foot, stitch plate, and bobbin case from your...
Read More -
We Are Expanding to Victor, NY!
Aurora Sewing Center, which has two locations in the Buffalo, New York area, is sew excited to announce they are expanding their...
Read More -
Wonder Clips
Our staff member Laura LOVES using Wonder Clips when she is quilting! They hold quilt layers together better than just...
Read More
« Newer articles 1 2 3 Older articles »